
Using ArcGIS Apps on iPhone and iPad with the Geode
This information applies to GNS2 and Geode.
Note: This information is provided as a reference and does not imply that Juniper Systems will provide full support for the use of any specific third-party device or software with a Juniper Systems product.
This article describes how to create a direct connection to the Geode in the ESRI fields apps such as ArcGIS Field Maps and ArcGIS Collector running on iPhone or iPad (see the separate instructions for Android). Additionally, it covers how to set up datum in ArcGIS Field Maps.
Create a Direct Connection to the Geode
Why a Direct Connection
A direct connection to the Geode in the ArcGIS app is the only way to guarantee that the positioning data collected by the app is coming 100 percent from the Geode Real-Time Sub-Meter GPS Receiver. Use the following link if you are instead wanting to use Geode Connect as an NTRIP client for the ESRI ArcGIS apps.
Note: For technical details, the Geode has a Bluetooth SPP (Serial Port Profile) connection facilitated by an EASession in iOS. Other GPS/GNSS receivers may not behave the same, such as the Trimble R1 had a TCP connection facilitated by Trimble Mobile Manager. The ESRI field apps treat each type of connection differently.
Disconnect and Close Geode Connect
If you are or have recently been using Geode Connect with your Geode, you will need to open the app, disconnect the Geode, and then fully close (swipe away) the app. This prevents Geode Connect from competing with the ArcGIS app for a connection with the Geode.
Open Geode Connect.
On the app Home screen, tap the orange Geode icon in the top left corner.
Select Disconnect.
Return to your iPhone Home screen.
Swipe up to reveal which apps are currently open on your iPhone (double-click for older iPhones).
Swipe up on the Geode Connect preview to completely close the app.
Connect ArcGIS App Directly with the Geode
It is recommended to change OS Settings for the app, such as the following examples.
Settings > Field Maps > Location (While Using the App)
Settings > Field Maps > Background App Refresh (Toggled On)
The following steps and GIF were created using ArcGIS Field Maps, but the process is the same in ArcGIS Collector.
Open ArcGIS Field Maps or ArcGIS Collector.
On the app Home screen, tap the Profile icon in the top left corner.
Tap the current Provider. In the GIF above, the provider is Integrated.
On the Location Providers screen, tap Add.
Select the Geode based on its serial number (e.g., Juniper Systems Inc. #224107). Tap Add.
Tap Done.
On the Location Providers screen, select the Geode you just added.
Tap Profile.
Tap Done.
Set Up Datum in ArcGIS Field Maps
In ESRI ArcGIS Field Maps on iPhone or iPad, tap on the Profile icon
 .
.In the Location section, tap on Profile > Add.
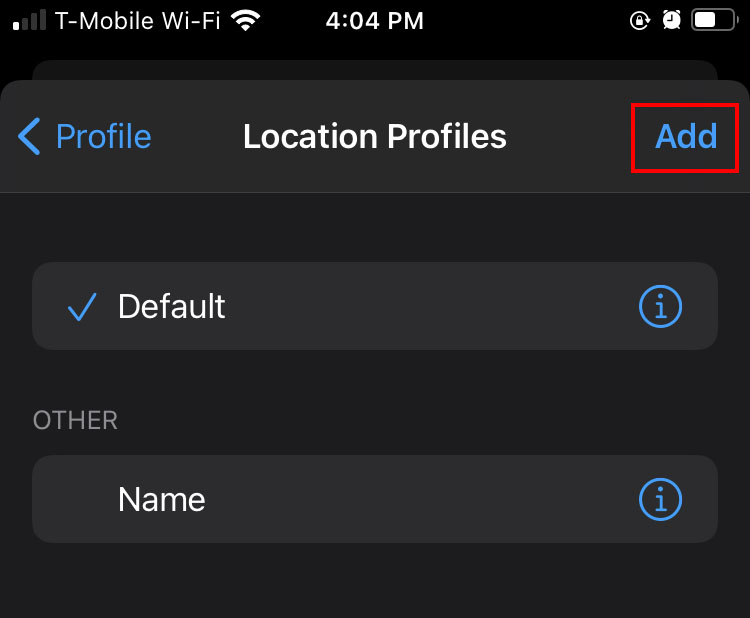
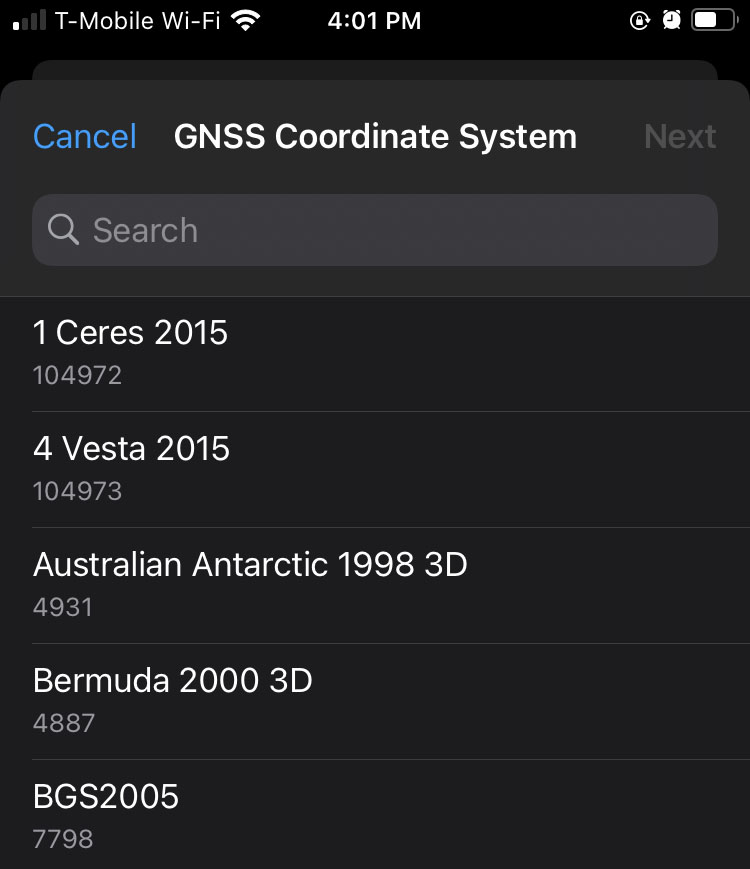
On the GNSS Coordinate System screen, when connecting directly to the Geode select “GCS WGS 1984” (epsg code 4326).
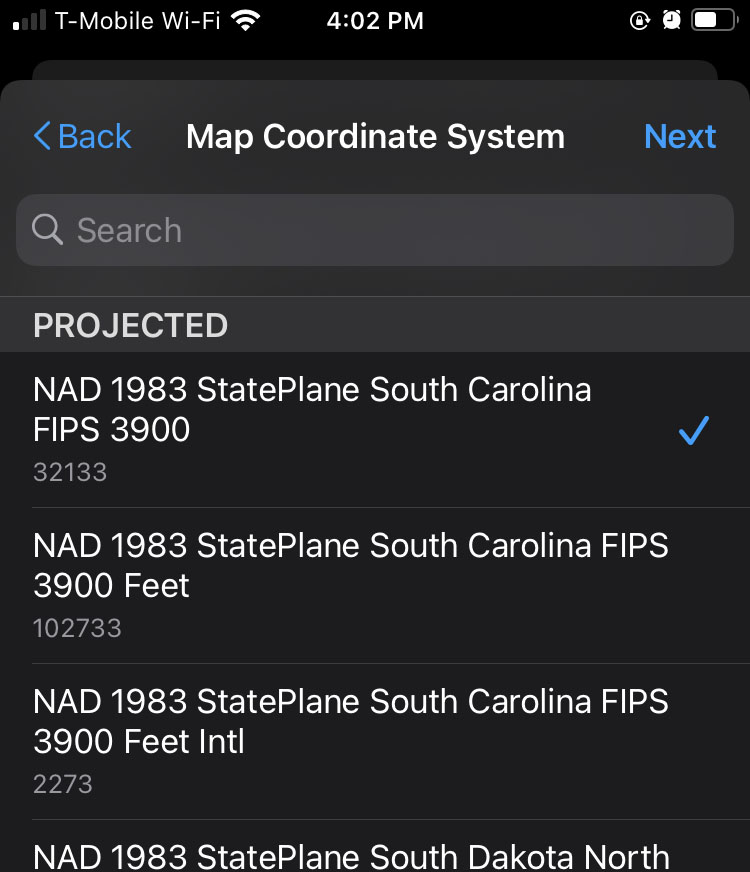
On the Map Coordinate System screen, you should now be able select the same one as you set for the map that you created in ArcGIS Pro or ArcGIS Online before importing it to Field Maps or Collector. Tap Next.
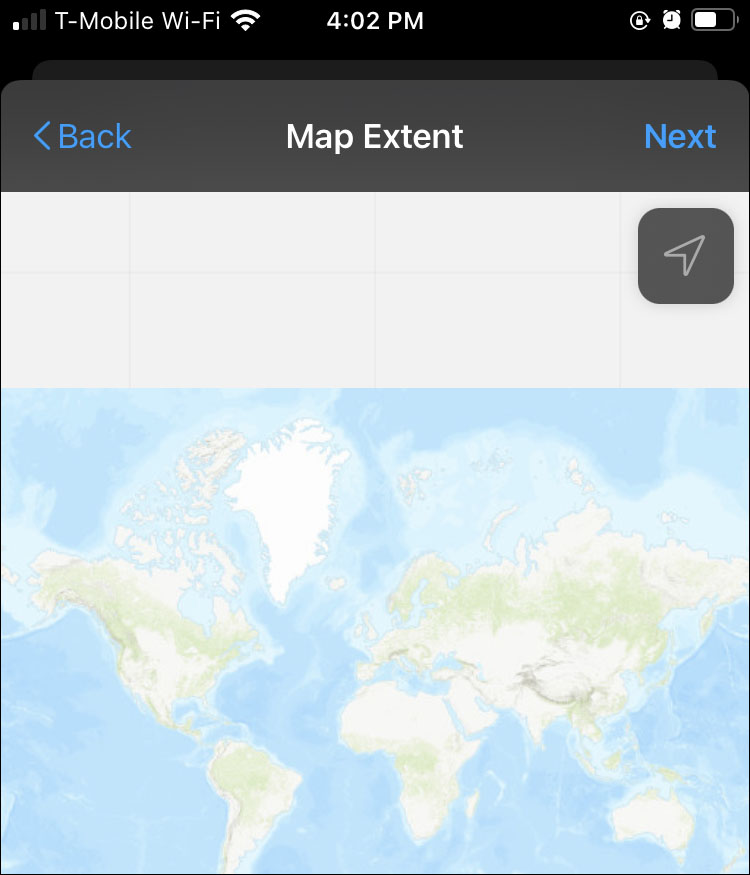
On the Map Extent screen, zoom in to the state or even more local area for the map. Tap Next.
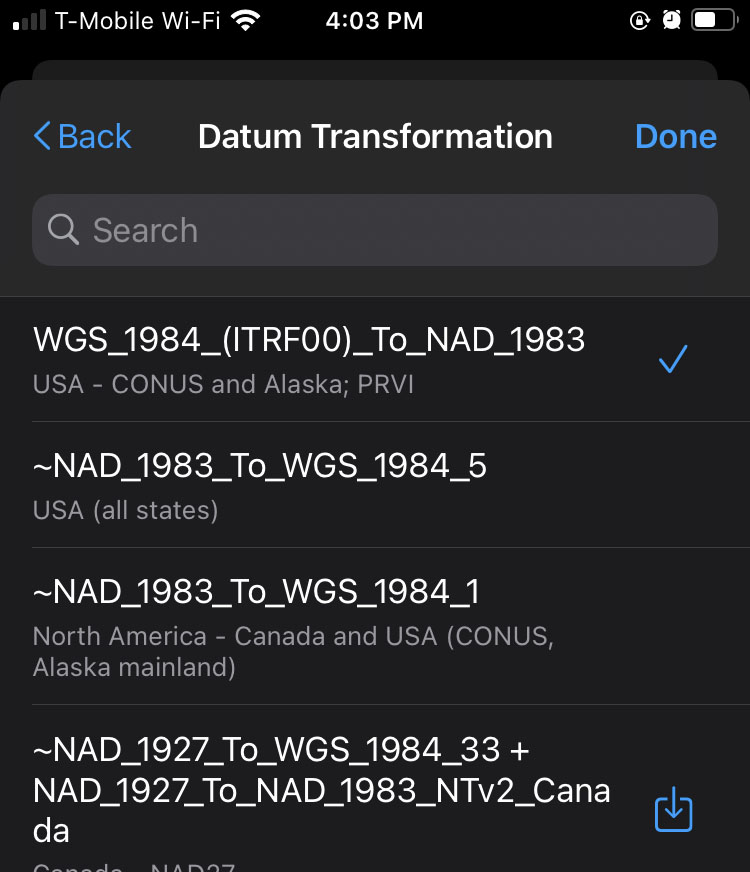
On the Datum Transformation screen, select “WGS_1984_(ITRF00)_To_NAD_1983” (USA – CONUS and Alaska; PRVI). Or, if needed, select whatever fits the conversion of the GPS/GNSS data to your map. Such a conversion is not survey (centimeter) grade but should not matter much for a meter-grade receiver such as the Geode (60 centimeter with just SBAS). Tap Done.
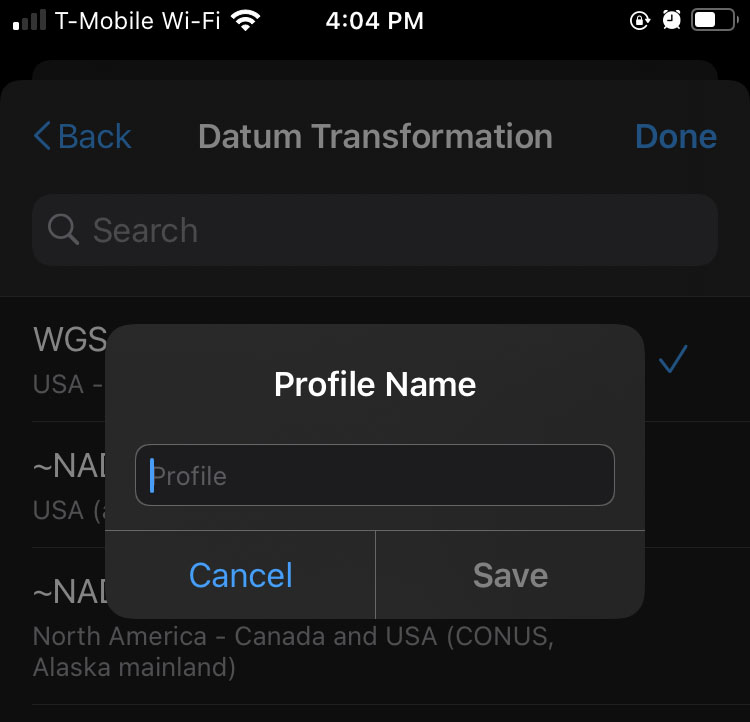
Enter a profile name. Tap Save.
Back at the Location profiles, tap on the newly added profile to select it for use.