
Barcode Connector Utility for Mesa Tablets
This article walks through the Barcode Connector Utility which allows you to configure the barcode module for your unit.
 |
|
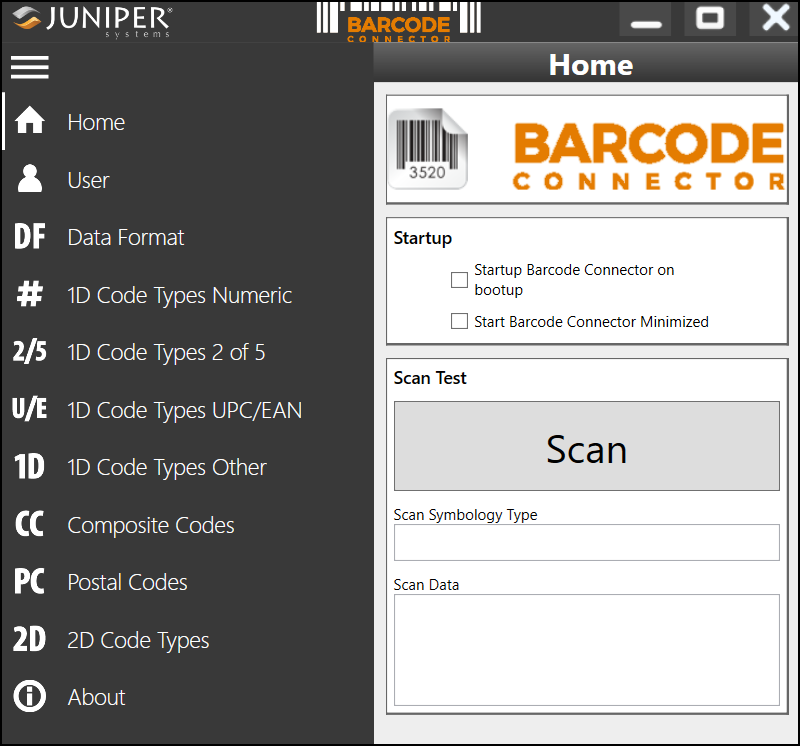
Home
Startup
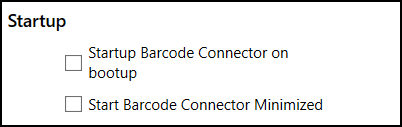
Startup Barcode Connector on bootup—When this option is checked the Barcode Connector app will automatically open when you log in.
Start Barcode Connector minimized—When this option is checked the Barcode Connector app will automatically open and minimize when you log in. The assigned hardware key and keyboard wedge function will still work while the utility is minimized.
Scan Test
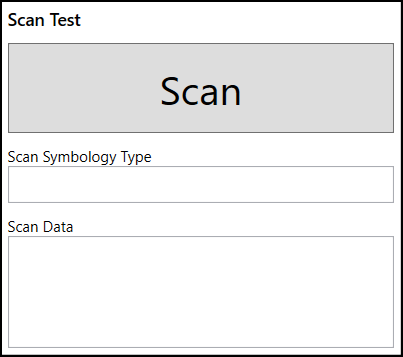
Use this button to verify everything is scanning correctly. Adjust the settings in the app as needed.
User
General
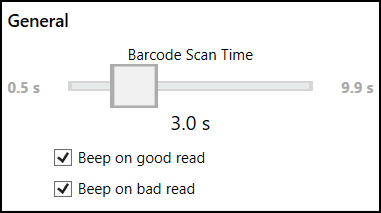
Barcode scan time—This determines how long the barcode module will attempt to read a barcode.
Beep on good read—A beep will sound if the barcode module successfully reads a barcode.
Beep on bad read—A beep will sound if the barcode module has not read a barcode when the scan time expires.
Copy Method
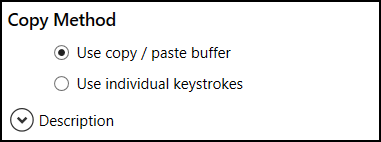
Use copy/paste buffer—The data is placed into the copy buffer and a Ctrl+V (paste) is simulated. This method has a slight speed advantage when reading larger tags. Some programs may not work well with this option.
CAUTION: If you are scanning sensitive information, this method leaves the data in the copy buffer.
Use individual keystrokes—When using individual keystrokes, each character from the tag is sent as a single keystroke.
Keyboard Wedge Method
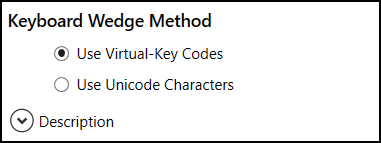
Use Virtual-Key Codes—This is a method used to send keyboard data to the system. If your application does not work with this method, select Use Unicode Characters.
Use Unicode Characters—This is a method used to send keyboard data to the system. If your application does not work with this method, select Use Virtual-Key Codes.
Select Scan Button

Use the drop-down menu to assign a hardware key for the scan action. When this key is pressed the barcode module starts scanning for tags.
Picklist Mode
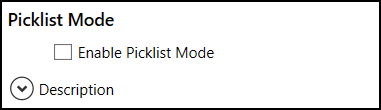
This enables the barcode module to decode barcodes only aligned with the center of the laser aiming pattern.
Decoding Illumination

When enabled, a red light flashes as a barcode is scanned.
Decode Aiming Pattern

When enabled, a red aiming light helps you target the barcode.
Trigger Mode
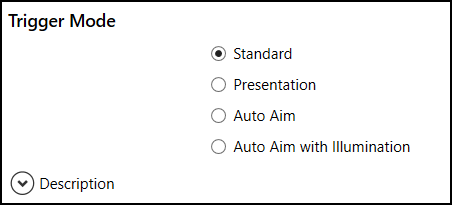
Standard—Pressing the trigger activates the scanner. Scanning continues until one of three things happens: the barcode is successfully read, you release the trigger, or the scanner times out (as defined by the Decode Session Timeout setting).
Presentation—The scanner automatically attempts to read a barcode when one enters its field of view.
Auto Aim—When the scanner detects motion, it activates the aiming pattern to help target the barcode. Pressing the trigger starts the scanning process.
Auto Aim with Illumination—When the scanner detects motion, it turns on the aiming pattern and internal illumination LEDs. Pressing the trigger starts the scanning process.
Enhanced LCD Screen Scanning

When this option is enabled the barcode module can more easily read a barcode on an LCD screen.
Scan Consecutive Read Level
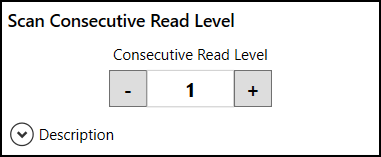
This option determines how many times a certain type of barcode must be read before the data is sent to the user. Select a number from 1 to 4.
1—Codabar, MSI, Discrete 2 of 5, and Interleaved 2 of 5 need two consecutive reads. All other barcodes only need one read.
2—All code types must have two consecutive reads.
3—Codabar, MSI, Discrete 2 of 5, and Interleaved 2 of 5 need three consecutive reads. All other barcodes only need two reads.
4—All code types must have three consecutive reads.
Reset to Default Barcode Settings
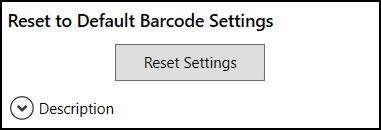
This option resets the barcode controller to the default operating parameters.
CAUTION: This cannot be undone.
Data Format
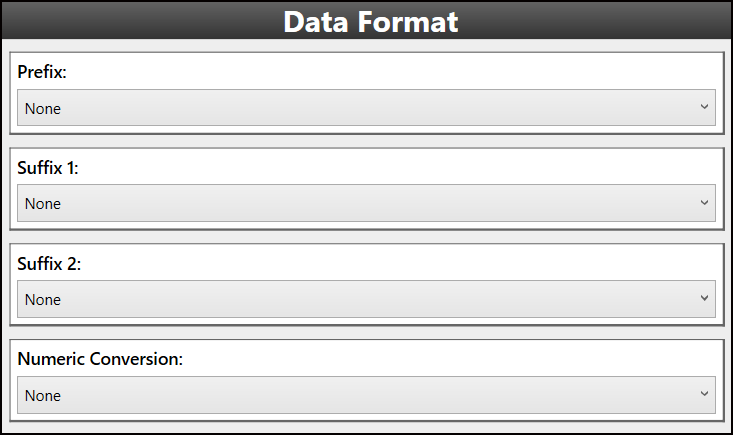
Prefix and Suffix
This option allows the user to automatically add additional information before (prefix) or after (suffix) a barcode is scanned. Select your preferred option from the drop-down list.
none
NULL
Line Feed
Carriage Return
#
$
Tab
Date
Time
Numeric Conversion
Numeric conversion translates barcode data between numerical systems: decimal (base 10) and hexadecimal (base 16).
Select one of the following:
None
Decimal to hexadecimal
Hexadecimal to decimal
Barcode Types
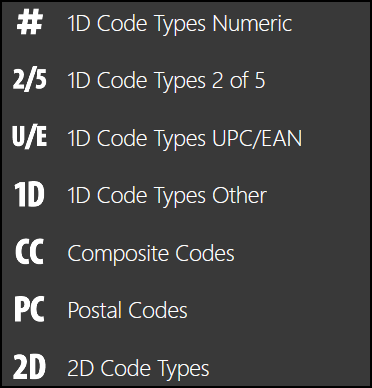
Each screen allows you to configure the barcode module for the specific types of barcodes listed below:
1D Code Types Numeric
1D Code Types 2 of 5
1D Code Types UPC/EAN
1D Code Types Other
Composite Codes
Postal Codes
2D Code Types
For more information about barcode types, see Wikipedia: Barcode.
About
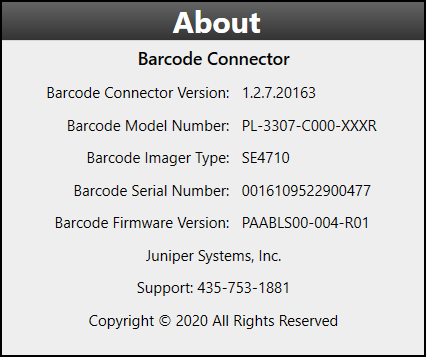
This screen shows the following information about the Barcode Connector application.
Barcode Connector Version
Barcode Model Number
Barcode Imager Type
Barcode Serial Number
Barcode Firmware
For the latest Barcode Connector version or firmware update, see Barcode Connector and drivers for Mesa tablets.