Receiver firmware update for Geode GNS3
Firmware version 6.1Aa00 for the Hemisphere GNSS OEM P34 receiver in the Geode GNS3 is available. This version supports the latest RTK network formats (MSM modes). If you are using RTK solutions via NTRIP, Juniper strongly encourages updating to this version of Hemisphere. This firmware update includes beta support for Galileo OSNMA, automatic selection of Australia and New Zealand SouthPAN SBAS, and other improvements that do not directly apply to the Geode GNS3.
To update to firmware version 6.1Aa00, download
GNS3-firmware-P34v6.1Aa00.zip
To install the firmware,
Connect the GNS3 unit to a Windows computer, using the USB-C to USB-C cable included with the GNS3.
On the computer, open Device Manager to view Ports (COM & LPT). Verify that the GNS3 appears as a virtual COM port device, for example, “GNSS RCVR (COM7).”
Note: You can further verify the connection by opening Geode Connect to detect the GNS3 via USB such as to view messages in the Terminal tab. Then, fully close Geode Connect.Extract all files from GNS3-firmware-p34v6.1aa00.zip.
Run HemiFwLoader.exe.
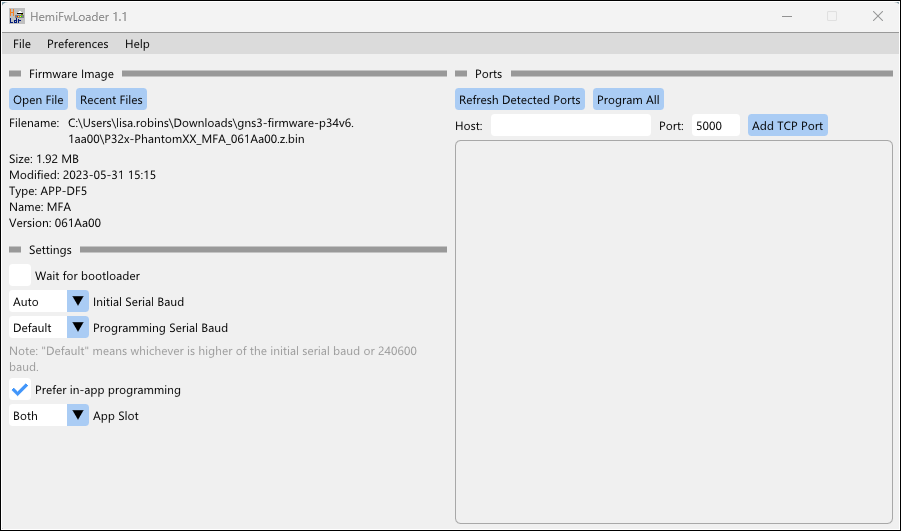
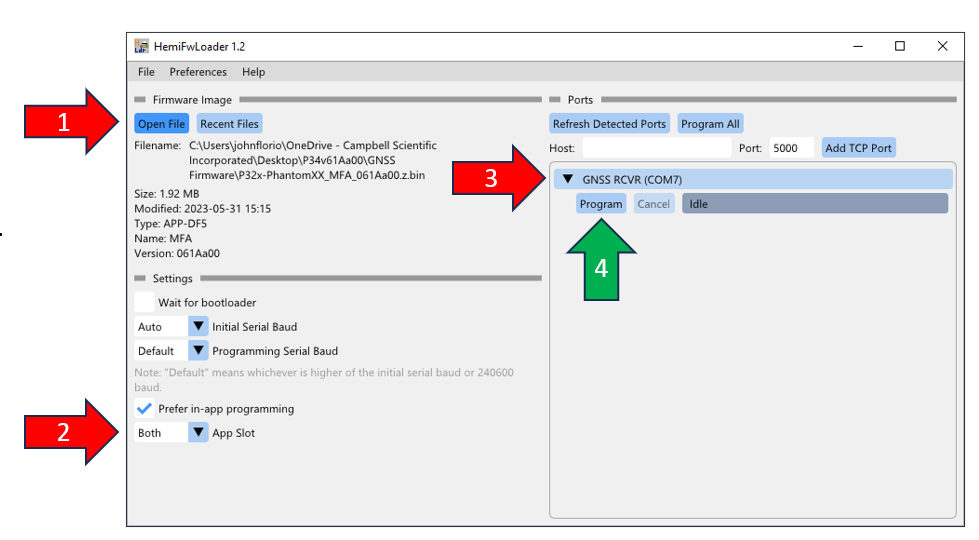
Under Firmware Image, tap Open File. Select the file P32x-PhantomXX_MFA_061Aa00.z.bin, and tap Open.

Under Settings, change App Slot to Both.
Under Ports, confirm that the Geode port is connected.
If the Geode does not appear, tap Refresh Detected Ports.Tap Program next to the Geode device.
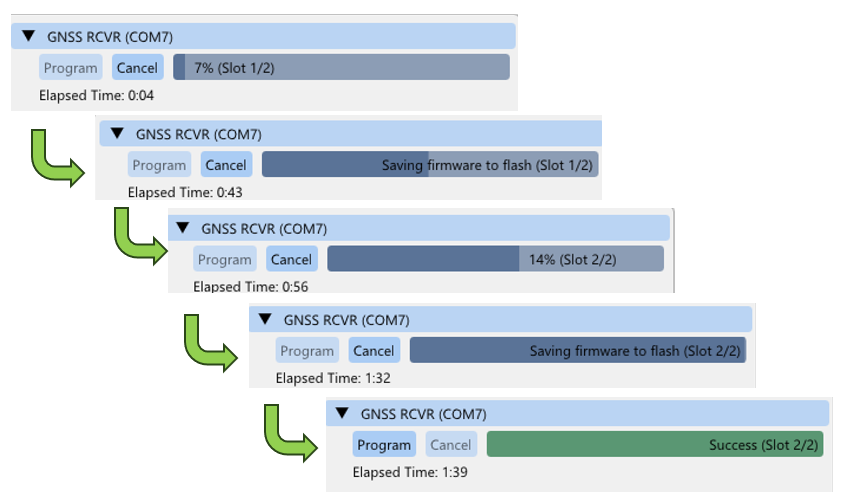
The progress bar displays the status of the installation. When the process is complete, the progress bar changes to green.
Close the firmware loader app.
Power off the GNS3 and then power it on again.
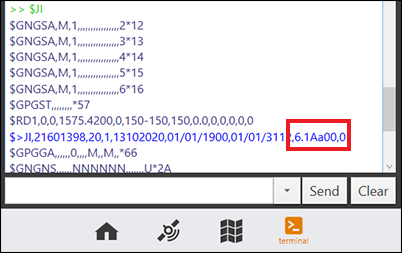
To confirm that the firmware was installed correctly, open Geode Connect. After connecting the Geode, open the Terminal screen, and use the $JI query command. The query response should end with firmware version 6.1Aa00.
Updated 2 Jan 2024
ARCHIVE 11 Aug 2023
OLD-GNS3-P34-firmware-61Aa00.zip
To update the receiver firmware for your Geode,
Connect the Geode to your computer using an RS-232 Serial COM Straight-Through (extension) cable (not NULL modem).
Note: Using a USB-C cable connection as a virtual COM port may be easier but is not officially supported by the receiver manufacturer.Turn the Geode power on.
Use Geode Connect to validate the serial connection is functioning. Note the COM port number, then close and exit Geode Connect.
Note: The COM port number and connection speed will be displayed when the Geode is connected. To further check, the terminal window displays a stream of sentences when the Geode is connected.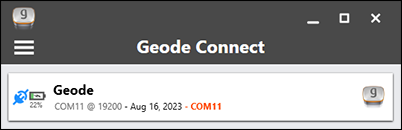
Download the Hemisphere P34 receiver firmware to a Windows PC.
Note: If asked, select Allow the file to download.
GNS3-P34-firmware-61Aa00.zipUnzip the installation files.
Warning: The files will not function if not extracted.From the extracted GNS3-p34-firmware-61Aa00 files, select RightArm.exe to launch the installer app.
The RightArm window appears.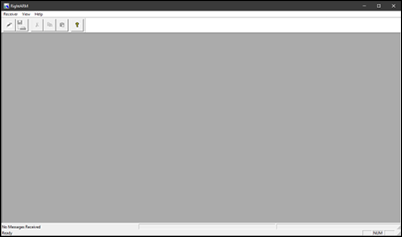
From the Receiver menu item, select Connection...
The Open Receiver box appears.Select the item that includes the port number identified in step one. (COM11 in these pictures.)
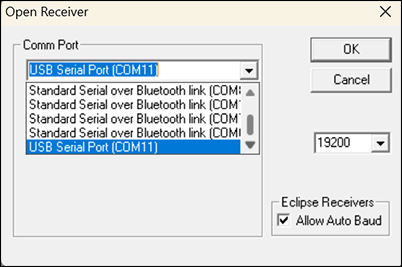
Tap OK.
Note: Leave the other settings as they are.From the Program Type section, select Application.
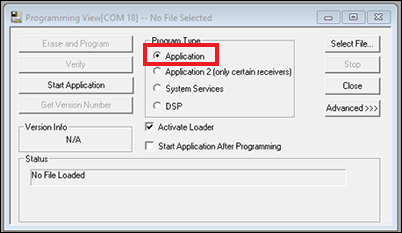
Tap Select File.
An open file box appears.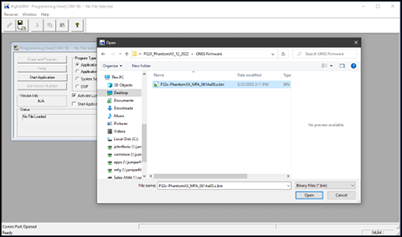
From the extracted GNS3-p34-firmware-61Aa00 files, select P32x-PhantomXX_MFA_061Aa00.z.bin.
Tap Open.
The Programming View displays. The Status section shows File Loaded.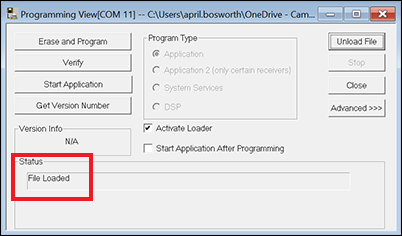
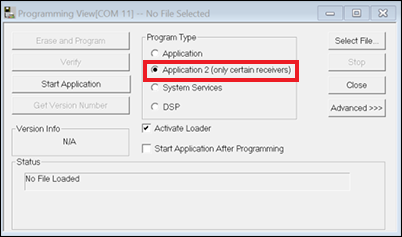
The Hemisphere P34 receiver can install and run two applications, so you must install the firmware for both applications. To update the Geode, install the receiver firmware twice, once in Program Type: Application and once in Program Type: Application 2.
With the Application radio button still selected, tap Erase and Program.
Note: Do not press any other buttons. Wait for the programming to complete.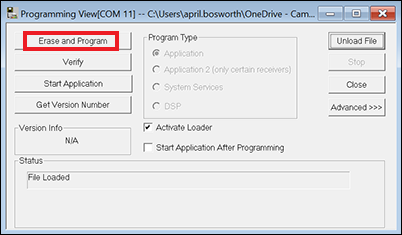
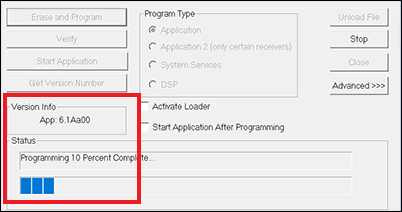
Programming will begin.The version info will show App: 6.1Aa00.
The status bar section displays text: Programming XX% Percent Complete.
The status bar will progress showing the app loading.
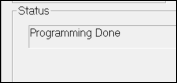
When the programming is complete, the status will show: Programming Done.
Tap Close.
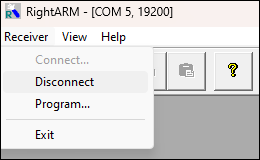
From the Receiver menu item, select Disconnect.
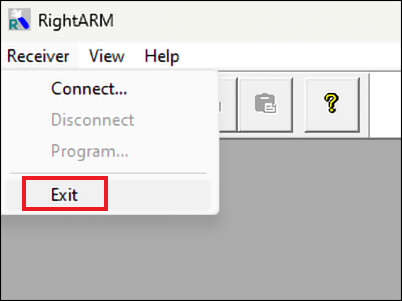
From the Receiver menu, select Exit.
Turn the Geode power off.
Turn the Geode power on.
From the Receiver menu item, select Connection...
The Open Receiver box appears.Select the item that includes the port number identified in step one. (COM11 in these pictures.)
Tap OK.
Note: Leave the other settings as they are.From the Program Type section, select Application 2.
Tap Select File.
An open file box appears.From the extracted GNS3-p34-firmware-61Aa00 files, select P32x-PhantomXX_MFA_061Aa00.z.bin.
Tap Open.
The Programming View displays. The Status section shows File Loaded.With the Application 2 radio button still selected, tap Erase and Program.
Programming will begin.The version info will show App: 6.1Aa00.
The status bar section displays text: Programming XX% complete.
The status bar will progress showing the app loading.
When the programming is complete, the status will show Programming Done.
Tap Close.
From the Receiver menu item, select Disconnect.
From the Receiver menu, select Exit.
Turn the Geode power off.
Turn the Geode power on.
Connect the Geode To Geode Connect.
Confirm the 6.1Aa00 firmware is installed. From the terminal screen, send $JI.

In the report back look for 61Aa00 at the end of the license info and version number line.