Zebra Label Printer Plugin Set Up
The label printer plugin for Mirus gives users the option to print an adhesive label that contains text and barcode information from a plot harvested with a HarvestMaster GrainGage. Any Zebra ZPL compatible printer can be used with this plugin. We have tested using the Zebra P4T and Zebra ZQ520 printers.
-
For Mirus 2.1.2 you will need Zebra plugin version 1.0.5
-
For Mirus 3.1 you will need Zebra plugin version 1.0.13
-
For Mirus 4.1.1, 4.3.0, or 4.5.0+ you will need Zebra plugin version 1.0.14
-
For Mirus 4.6.0 you will need Zebra plugin version 1.1.0
To set up the Zebra Printer to work with Mirus,
1. Install and Register the Zebra Plugin
-
Verify Mirus is installed and registered on your device.
-
If Mirus is not installed and registered, see the Mirus for H2 GrainGage User's Guide.
-
-
Download the Zebra Label Printer Plugin to your device.
-
Activate the plugin online or over the phone.
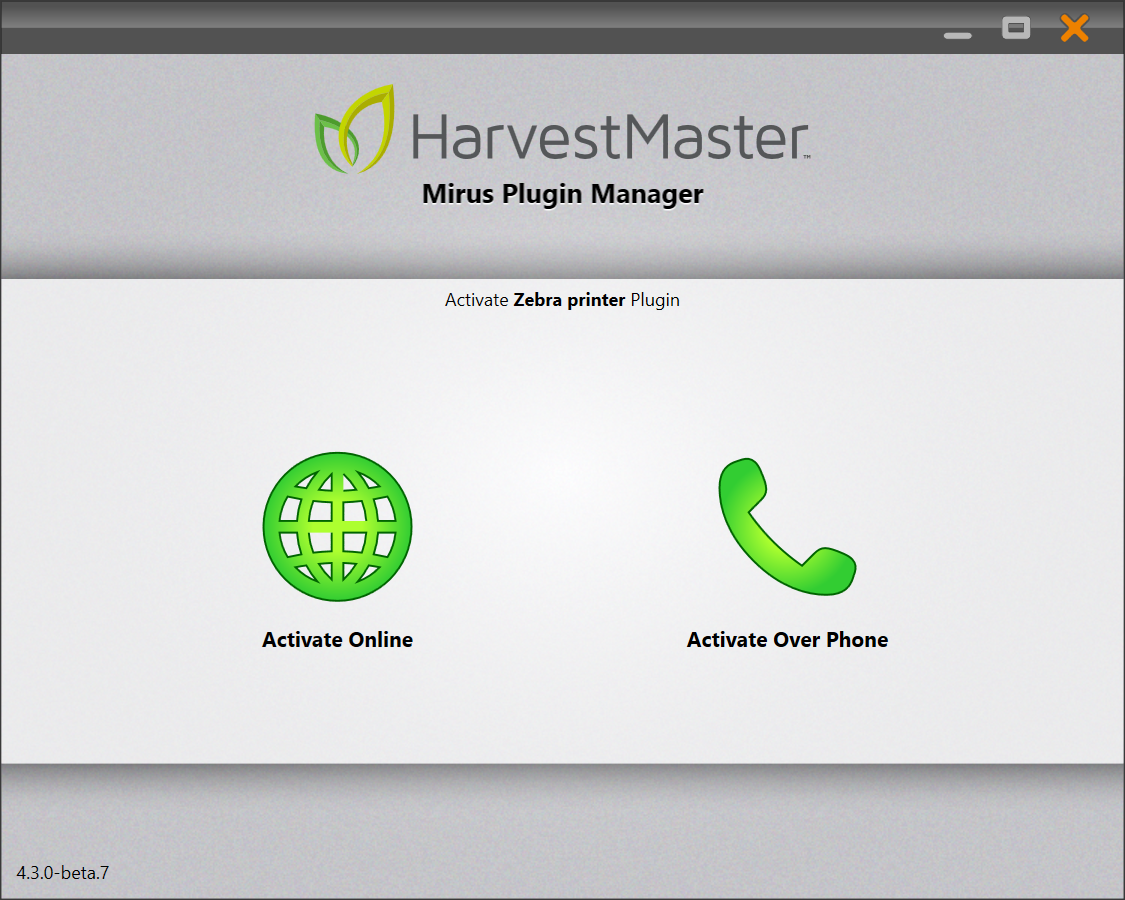
When the Zebra Plugin is purchased you will be sent a registration card with a serial number for the plugin.
- If you chose to activate the plugin online, use the registration number, serial number, and unlock code to continue.
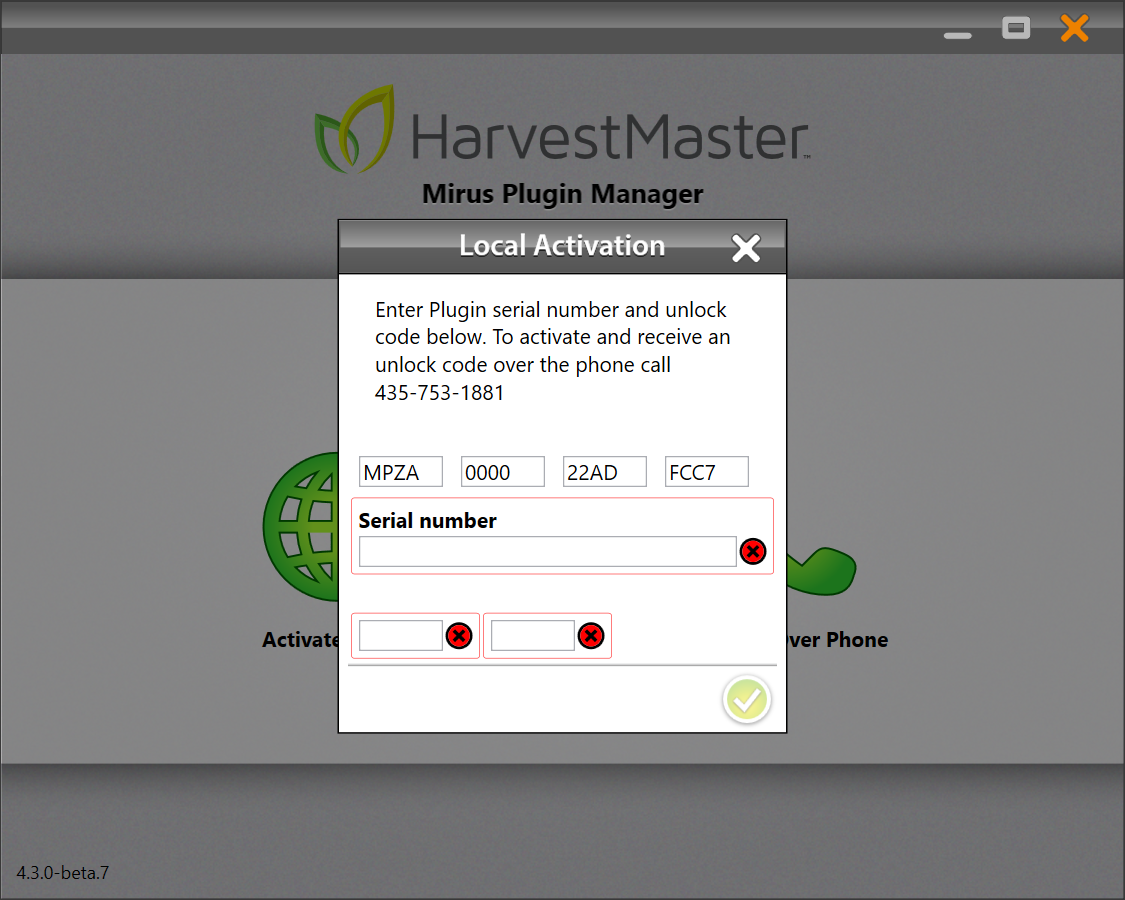
-
Verify Mirus is closed.
-
After the plugin is activated, click "Install Zebra Printer Plugin."
-
Close the installation window.
2. Install ZDesigner V.5 Driver for Windows
-
Go to the Zebra Printer Support and scroll down.
-
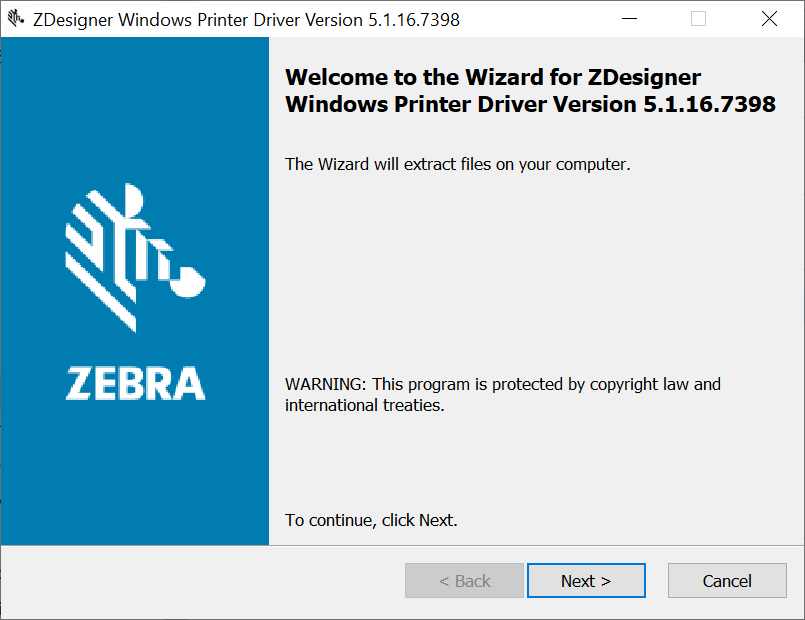
Download the ZDesigner v. 5 Driver for Windows.
-
Run the executable and install the driver.
3. Install Zebra Setup Utilities
-
Verify the printer is not plugged into your device.
-
Go to the Mobile Printer Support.
-
Download the Zebra Setup Utilities for Windows.

-
Run the executable and install the utility.
-
On the Welcome to InstallAware Wizard for Zebra Setup Utilities screen, click Next.
-
Check the box to accept the terms. Click Next.
-
Select the destination folder. Click Next.
-
Select a program folder. Click Next.
-
To complete the setup, click Finish.
-
4. Configure Printer
-
Plug the Zebra printer into your device.
-
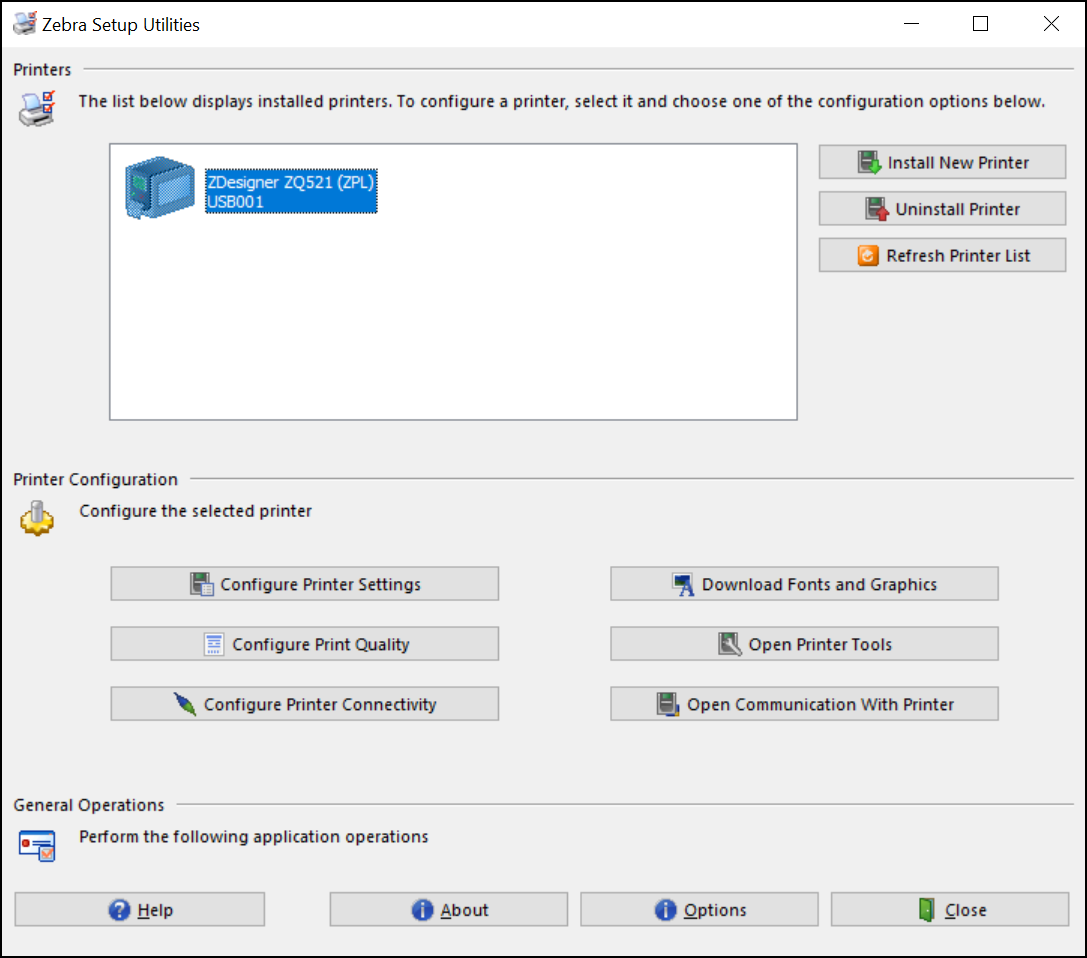
In the Zebra Setup Utilities, select "Install New Printer" and click Next.
-
The printer number can be found on the top of your printer.
-
-
On the Additional Install Options screen, verify both options are checked then click Finish.
-
On the Zebra Printer Utilities screen under Printers, verify the correct printer is selected.
-
Select the USB port.
-
Use a measuring tape to measure the dimensions of the label you will be printing on.
-
Under Printer Configuration, click Configure Printer Settings.
-
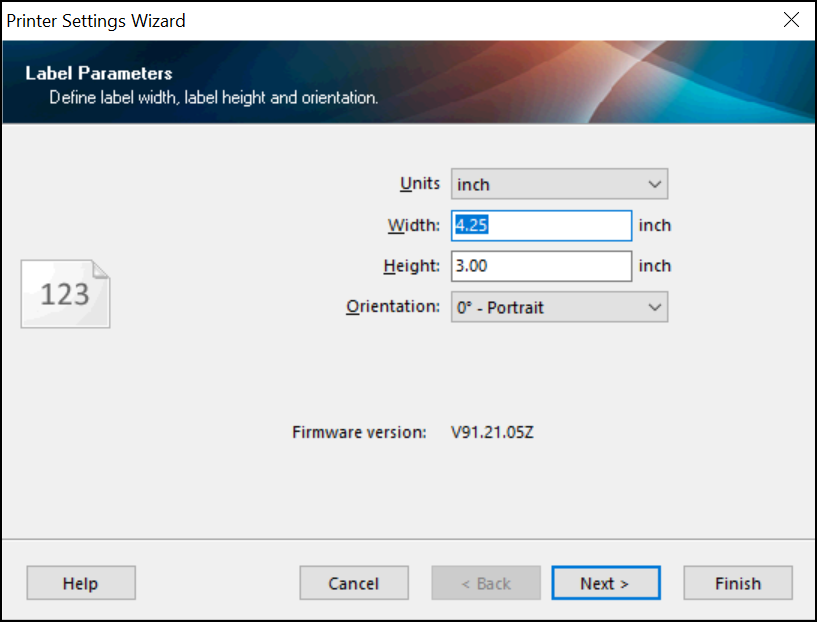
On the Label Parameters screen, enter the width and height of the label. Click Next.
-
Set the Speed and Darkness to your preference (we recommend a darkness of about 15). Click Next.
-
Set the Media Type to your preference (we recommend Mark Sensing). Click Next.
-
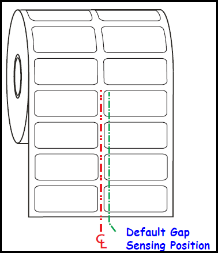
Web Sensing: Used for media with inter-label gaps, notches, or holes.
-
-
Continuous: Media that does not have or need a top-of-form indicator. The printer is told to print a specific length on the labels without automatic top-of-form correction.
-
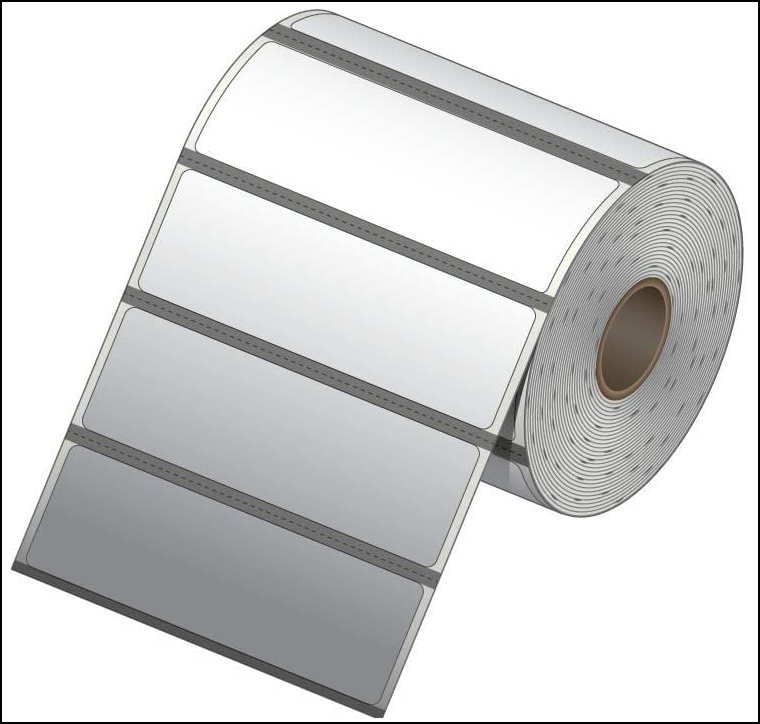
Mark Sensing: There is a black line printed between the labels.
-
Configure the Advanced settings to your preference. Click Next.
-
If necessary, you can set the Real Time Clock. Click Next.
-
On the Front Panel Protection Screen, verify all the boxes are checked. Click Next.
-
If necessary, manually set the Sensor Settings. Click Next.
-
If you wish to save the settings to a file on your computer, check the box next to Save Settings to File.
-
Select Finish.
-
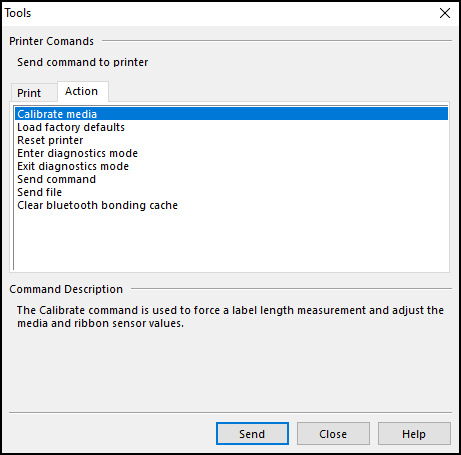
Calibrate the printer to prevent the label from starting in the incorrect position or skipping labels.
-
Under Printer Configuration, click Open Printer Tools.
-
Under the Action tab, click Calibrate Media > Send.
5. Setup Printer Language
-
Verify the Zebra printer is connected to your device via USB.
-
Open Zebra Setup Utilities.
-
Verify the correct printer is highlighted.
-
Click Open Communication with Printer.
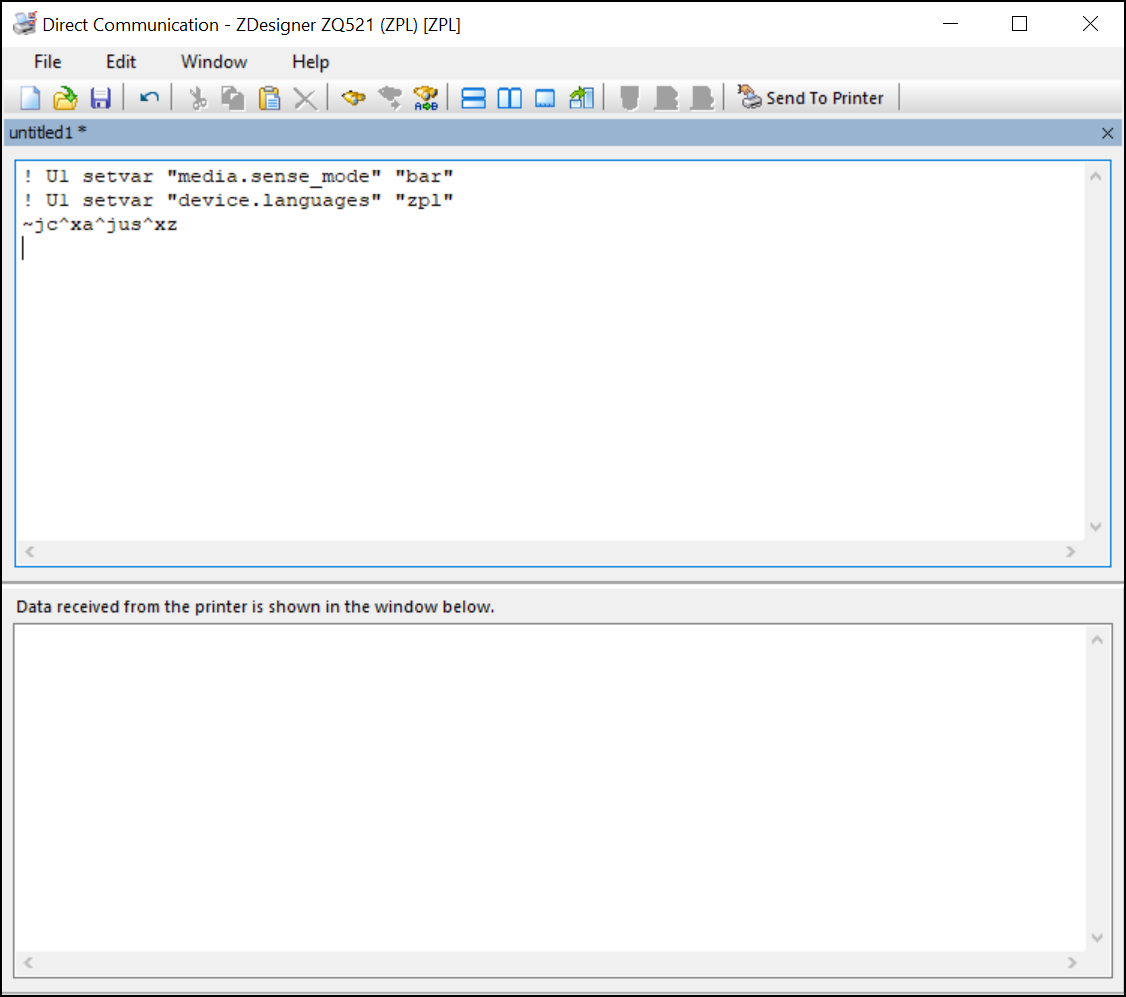
-
Enter one of the following commands.
-
For a black mark between each label (Black Mark Media (P4T))
-
! U1 setvar "media.sense_mode" "bar"
! U1 setvar "device.languages" "zpl"
~jc^xa^jus^xz
-
For no black mark between each label (Gap Media QL220 Plus)
! U1 setvar "media.sense_mode" "gap"
! U1 setvar "device.languages" "zpl"
~jc^xa^jus^xz
-
Click Send to Printer.
-
The printer will feed about four labels as a system check.
-
If the printer prints random characters, it could be the default. To change the code language to ZPL, enter the following:
-
! U1 setvar "device.languages" "zpl"
! U1 setvar "device.languages"
~jc^xa^jus^xz
-
Be sure to press enter between each line item. Click Send to Printer.
-
After the labels stop cycling, close the screen. Do NOT save the changes.
-
Open Printer Tools.
-
To verify the printer is working correctly, select Feed one label under the Print tab and click Send.
6. Customize Label with the Zebra Designer Program
Install the Zebra Designer Program
-
Open the ZebraDesigner3 Software Support. Scroll down to Software and select ZebraDesigner3 Software Support.
-
Run the executable (Zebradesigner3-321570.exe).
-
Select your preferred language.
-
When the installer opens, select Next.
-
Accept the terms of the license agreement and click Next.
-
Select the Product install path and click Next.
-
On the Start Installation screen, click Install.
-
After the install is complete, click Done.
Setup Label
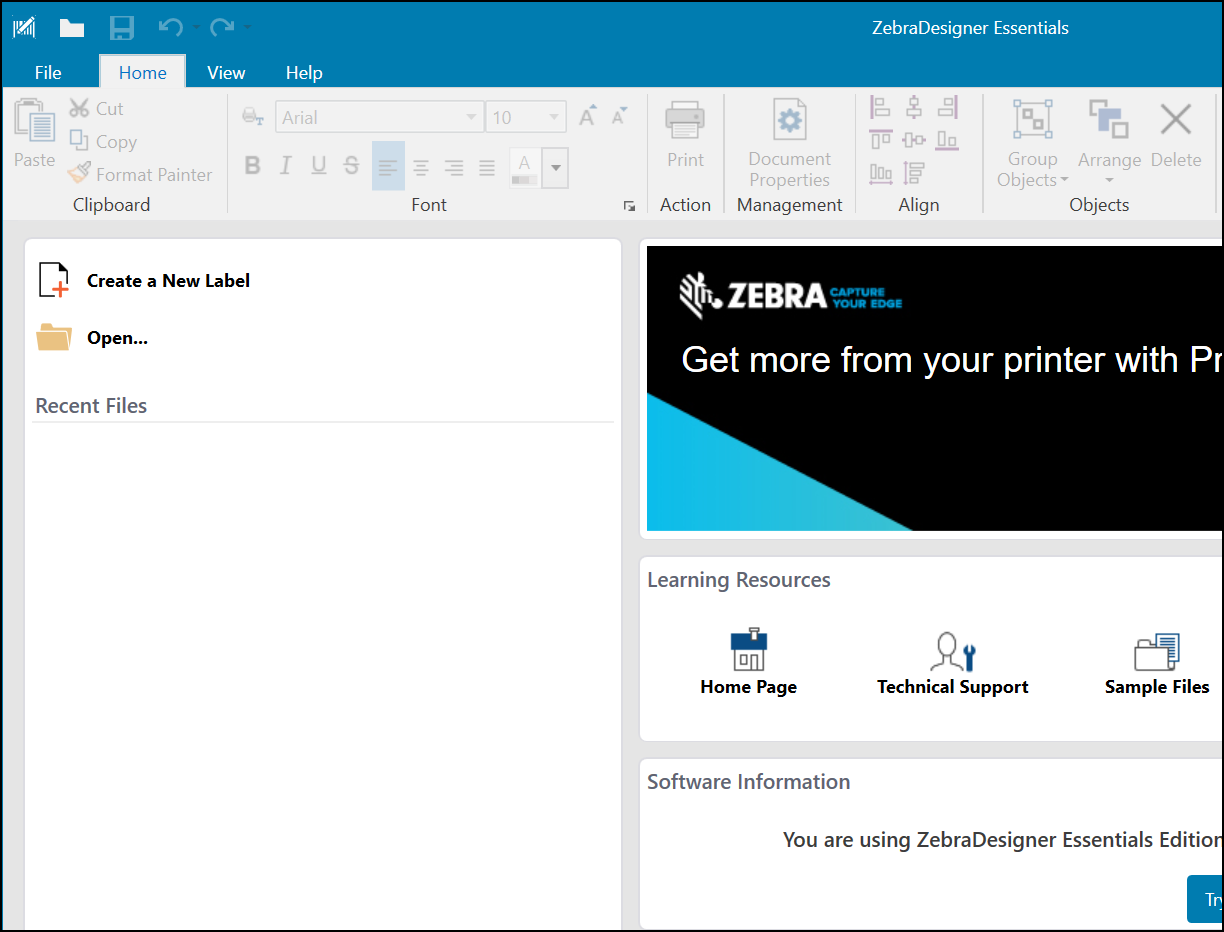
- Open ZebraDesign3.
-
Click Open...
-
Go to C:\HarvestMaster\Mirus\Plugins\ZebraPrinterAttachment\DefaultDesignerLabels
-
Click on the label that matches the dimensions of your label.
-
Choose a printer. Click OK.
-
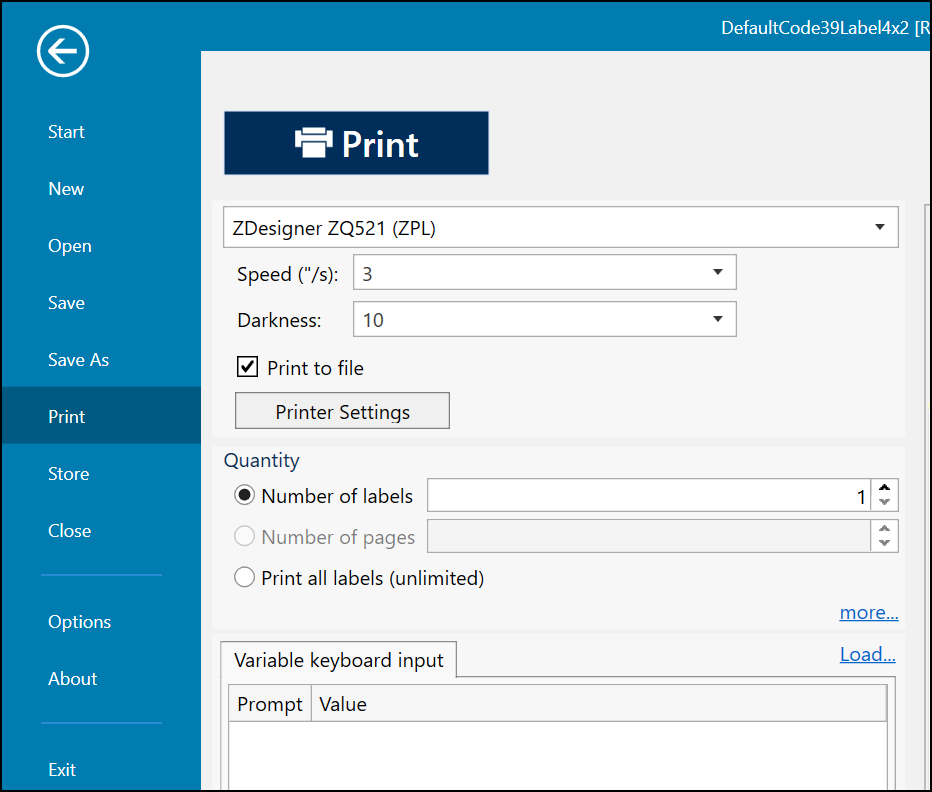
Select File > Print.
-
Click Printer Settings.
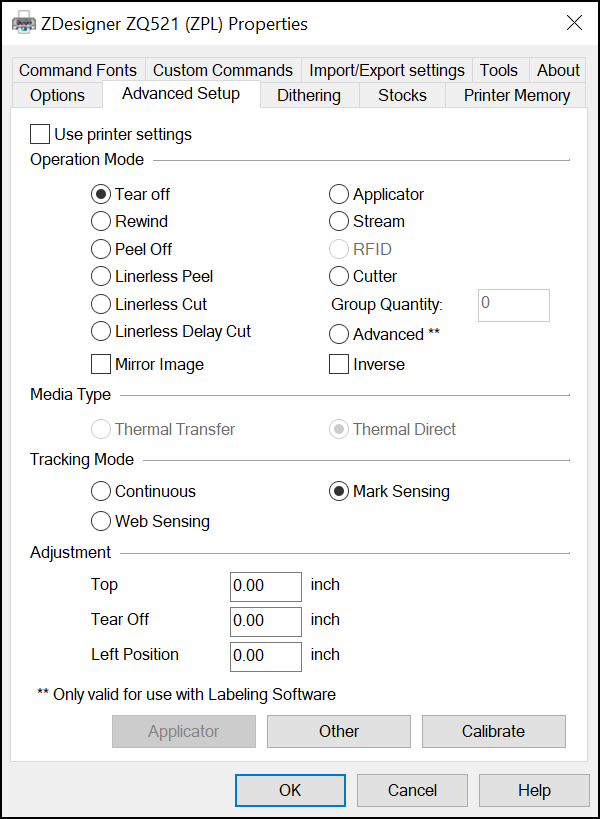
- Click on the Advanced Setup tab.
-
Under Tracking Mode, verify Mark Sensing is selected.
-
Click Calibrate > OK.
-
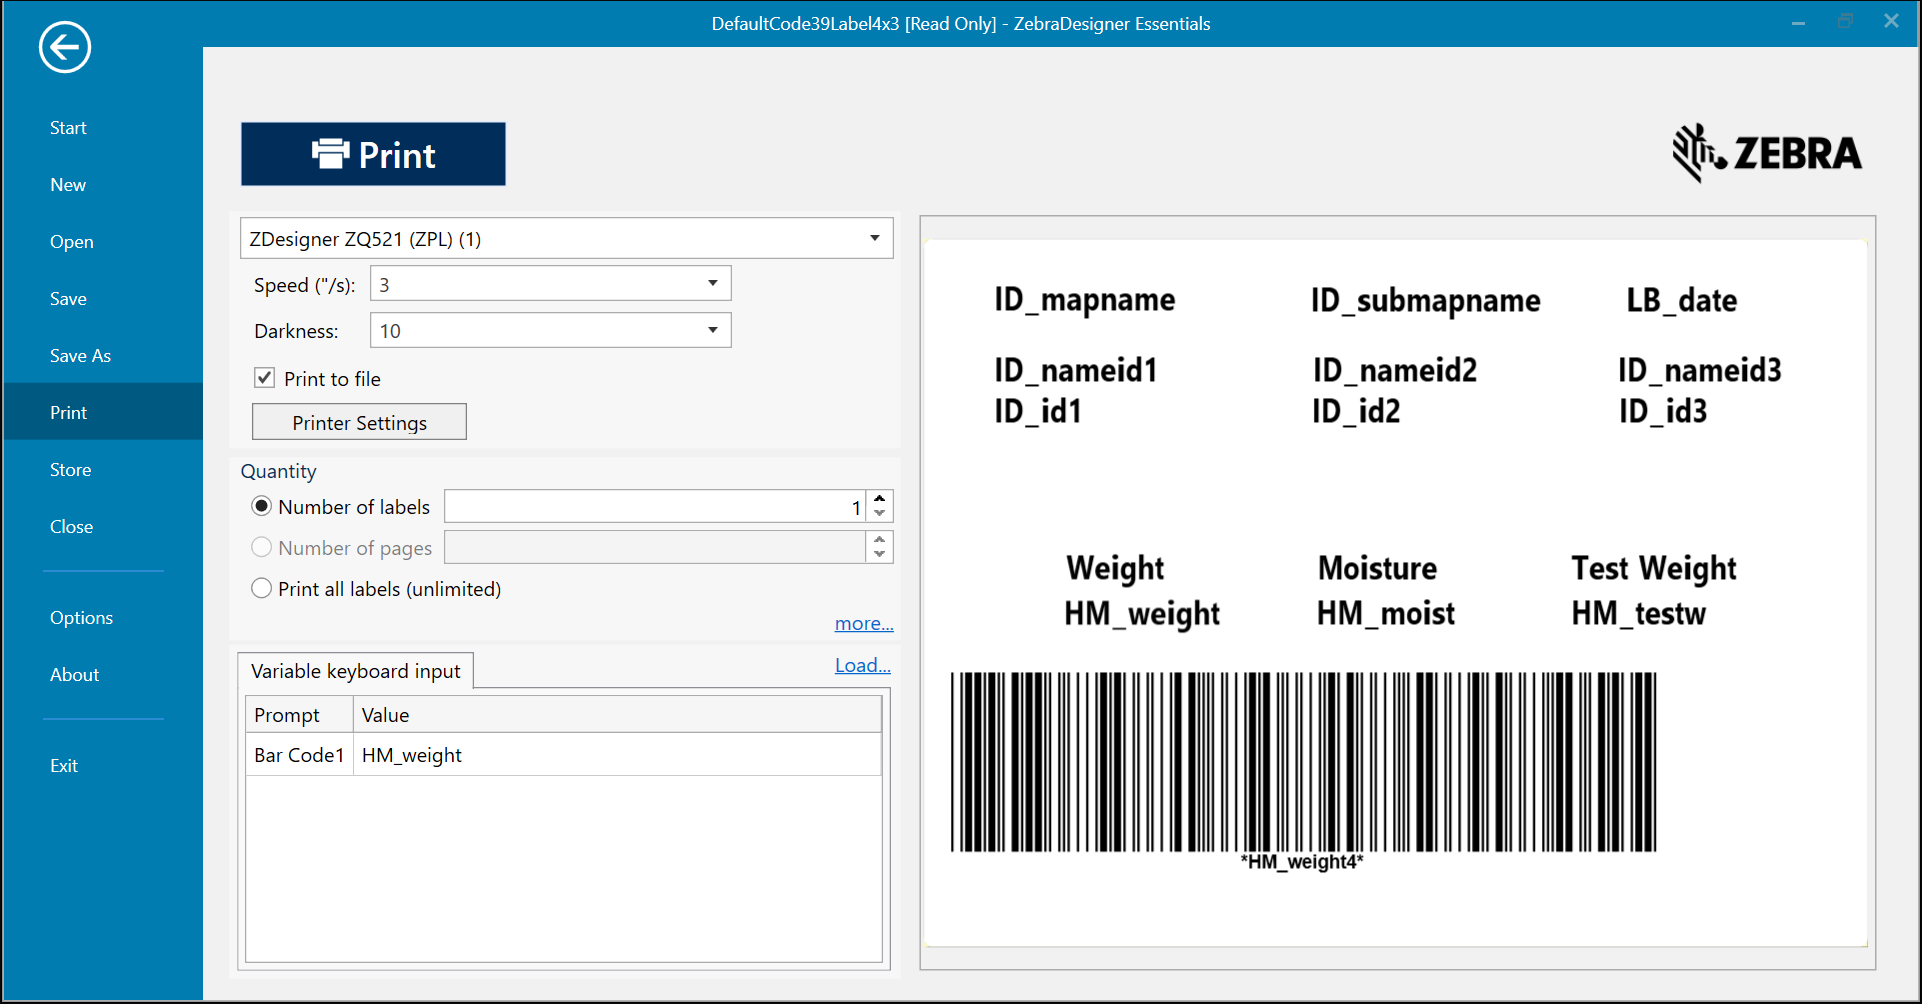
Select Print to File.
-
Click Print.
-
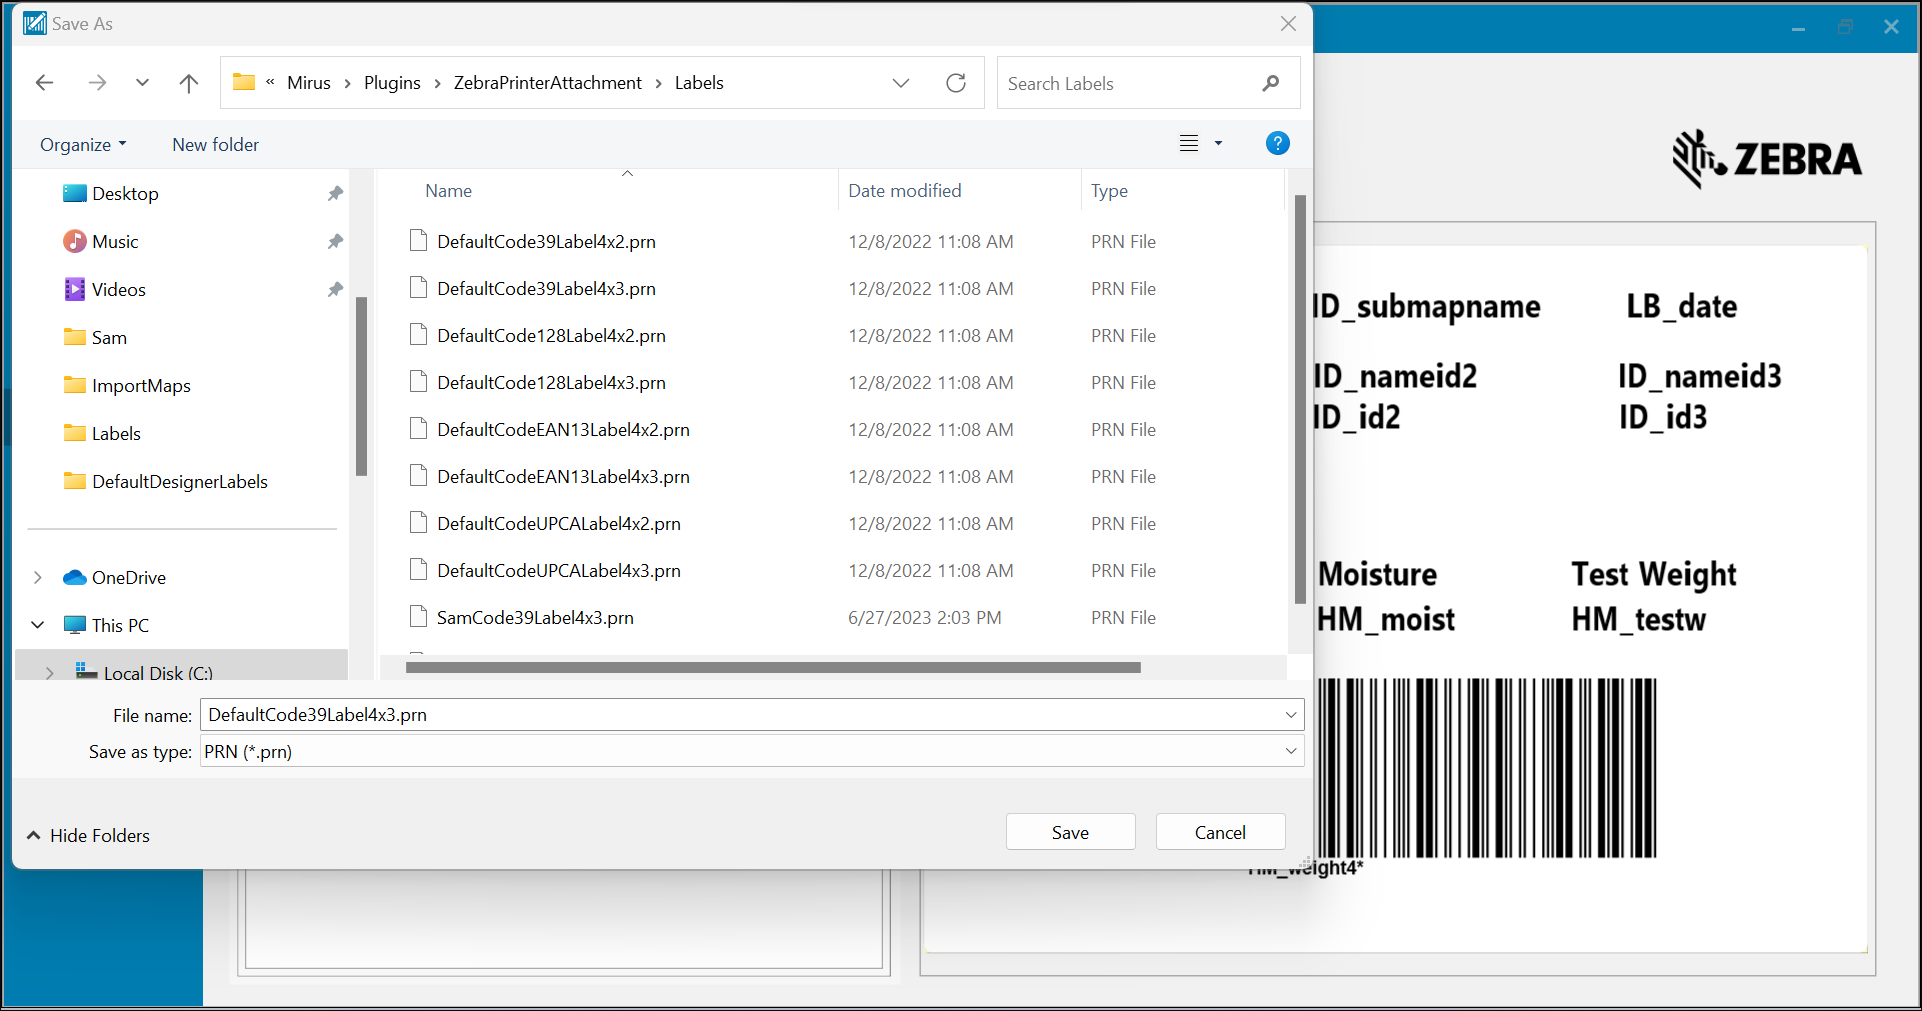
Locate the Labels folder at C:\HarvestMaster\Mirus\Plugins\ZebraPrinterAttachment\Labels.
-
Make sure the file type is .prn.
-
Click Save.
Additional Label Customization Option
To include the weight, moisture, and test weight as part of barcode reading,
- Open ZebraDesign3.

-
Click Open...
-
Go to C:\HarvestMaster\Mirus\Plugins\ZebraPrinterAttachment\DefaultDesignerLabels
-
Click on the label you set up in the section above.
-
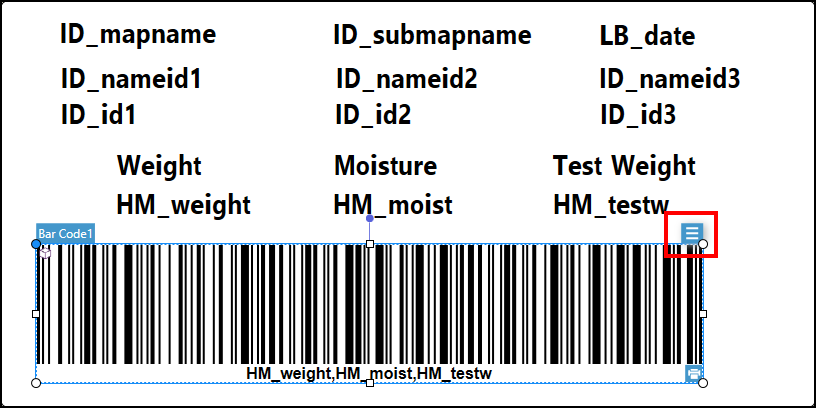
Click on the barcode in the label.
-
Click on the blue icon on the top right of the barcode.
-
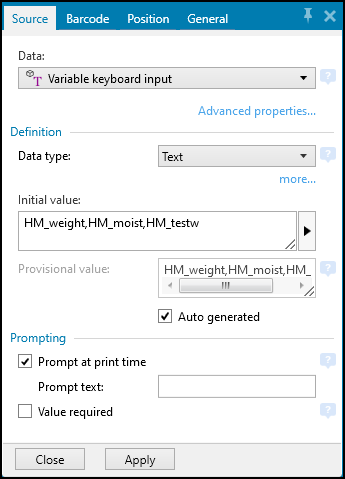
In the pop-up window, click on the Source tab.
-
In the Data drop-down, select Variable keyboard input.
-
In the Data type drop-down, select Text.
-
Under Initial value enter HM_weight,HM_moist,HM_testw
-
Verify Auto generated is checked.
-
Click Apply.
-
- Click Print.
- Select Print to file.

- Click Print.
- Locate the Labels folder at C:\HarvestMaster\Mirus\Plugins\ZebraPrinterAttachment\Labels.
- Change the file name (if desired). Make sure the file type is .prn.

- Click Save.
Label Troubleshooting
If the file did not save as a .prn file,
-
Find the default file with the dimensions for the label you selected in step 4 above.
-
Change the file extension from .lbl to .prn. Rename the file to make it unique.
-
Confirm the file is saved at C:\HarvestMaster\Mirus\Plugins\ZebraPrinterAttachment\Labels.
-
Verify the file ends in .prn.
-
When you are asked if you are sure you want to make the change, click Yes.
-
Verify the label prints by unchecking Print to file then clicking Print.
7. Finish Setup in Mirus
-
Take your device and printer out to your combine.
-
Ensure your device is connected to your GrainGage via USB.
-
Turn on the GrainGage console and open Mirus.
-
Mirus should connect to the GrainGage.
-
If Mirus doesn't connect, click the Connect Plugin icon and select the correct GrainGage.
-
-
Tap the Connect Plugin icon.
-
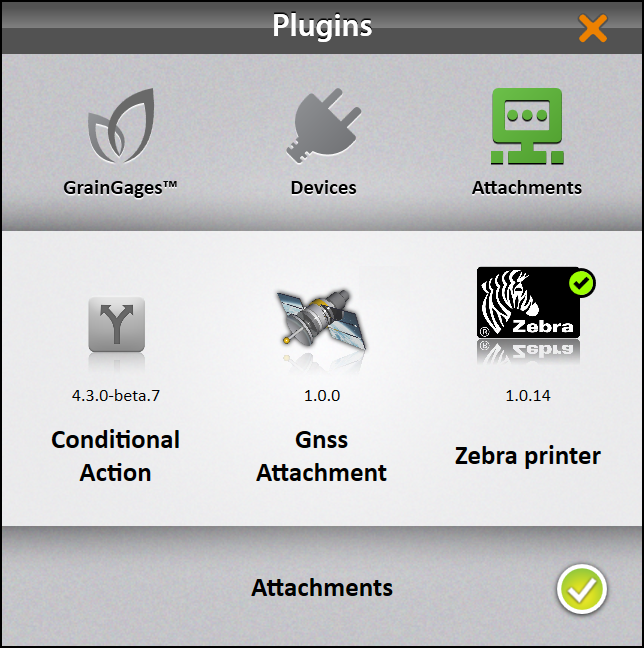
Tap Attachments.
-
Tap on the Zebra Printer icon. A green check should appear in the icon's corner.
-
Tap the green check in the bottom right.
-
Tap Setup.
-
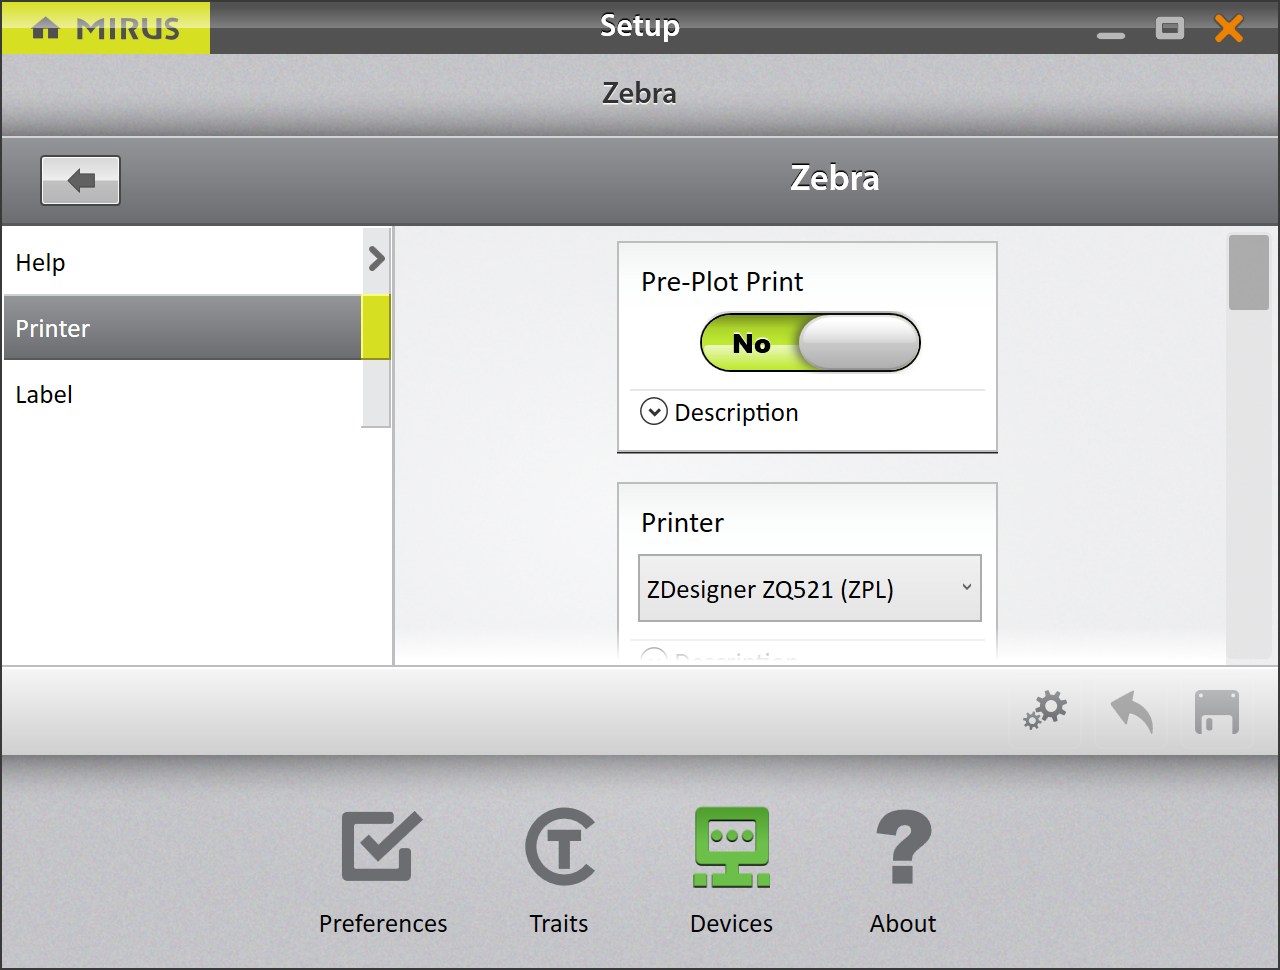
Under Zebra > Printer > Printer select the correct printer.
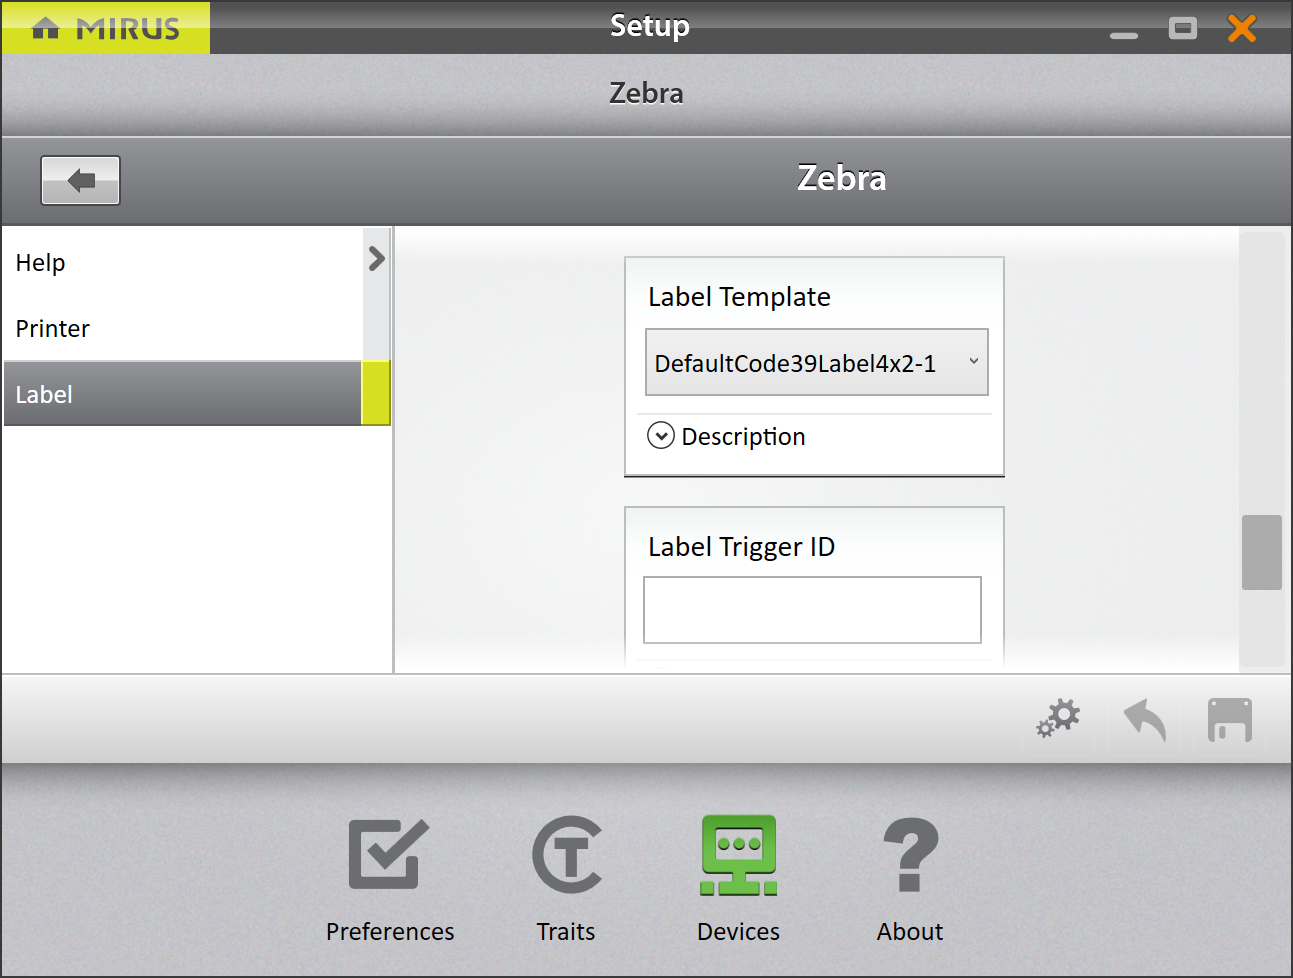
- Under Label > Label Template, select the label that you created and customized in ZebraDesigner3 from the drop-down list.
-
If you leave the Label Trigger ID option blank, a label will be printed for each plot.
-
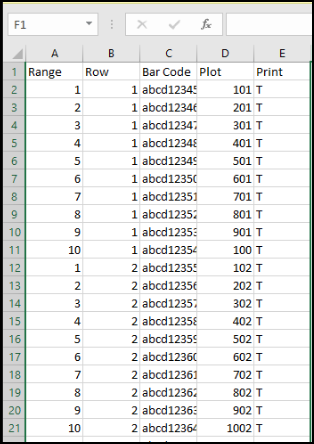
You can use an imported map to specify plots to print labels on. The column name can be anything you like. In the example below, we use "Print."
-
To specify if a plot should print a specific value, place that value in the print column for that plot. In the example below, we use "T." Leave the column blank for plots you don't want a printed label for.
-
- Enter Harvest and use F3 to print a test label to verify the printer works as expected.
