Uinta - Add a Point to the Map
Add a Point Automatically
-
Tap on your project to launch the Map View.
-
Select the satellite icon in the top right corner to verify your GPS is connected.
-
If desired, use the circle icon on the left of the screen to zoom to your position.
-
Tap the orange plus.
-
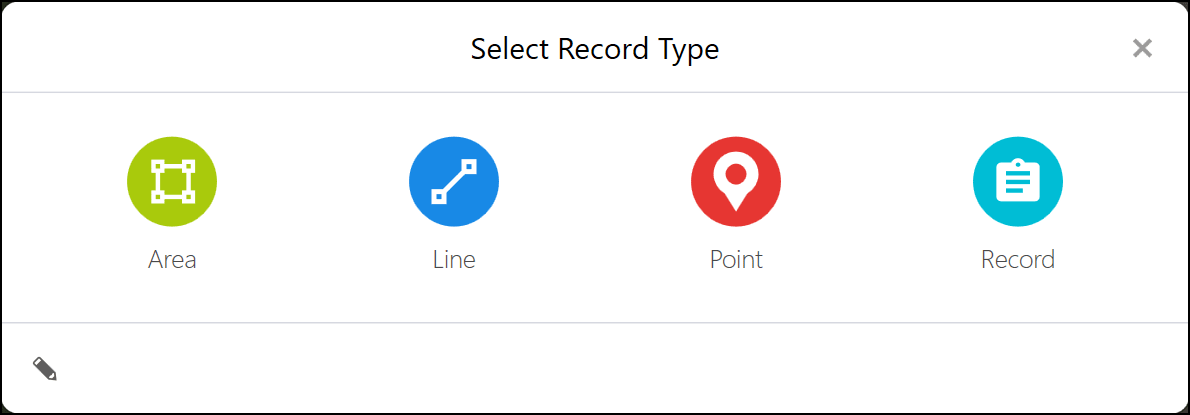
On the Select Record Type screen, select Point.
-
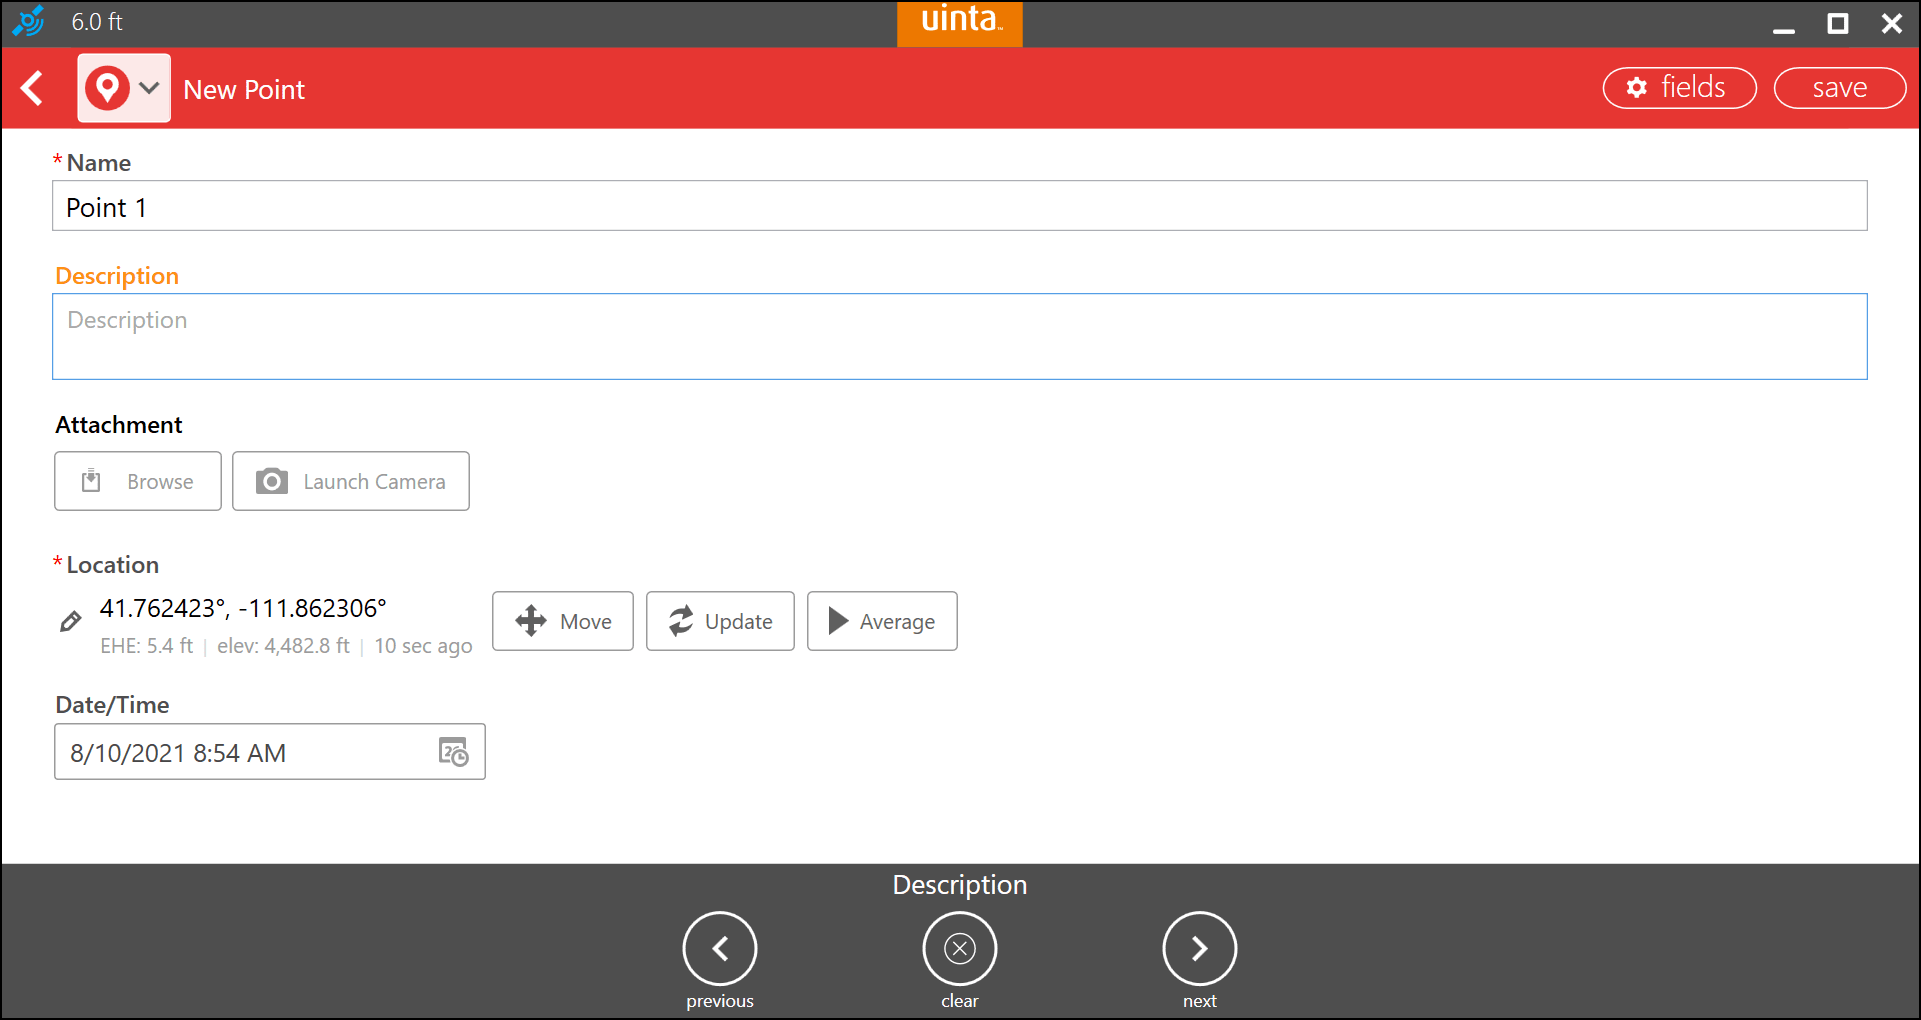
When you select Point your latitude and longitude will be captured automatically. If needed, you can change the location of the point later using the Move or Update options.
-

-
Enter any necessary data about the point (fill out the Name and Description fields, attach a document, or take a picture). The location, date, and time of the point will be filled in automatically.

-
Tap Save.
Add a Point with a Mouse
-
Click on your project to launch the Map View.
-
Select the satellite icon in the top right corner to verify your GPS is disconnected.
-
Click the orange plus.
-
On the Select Record Type screen, select Point.
-
On the left side of the map, verify the Mouse icon is selected.
![]()
-
Click on the map where you want your point to be.
-
Select Finish.
-
Enter any necessary data about the point (fill out the Name and Description fields, attach a document, or take a picture). The location, date, and time of the point will be filled in automatically.
-
Click Save.
Add a Point with Target Function
-
Tap on your project to launch the Map View.
-
Select the satellite icon in the top right corner to verify your GPS is disconnected.
-
Tap the orange plus.
-
On the Select Record Type screen, select Point.
-
On the left side of the map, verify the Target icon is selected.
![]()
-
You can use your finger or mouse to move the target around on the map and place it where you would like your point to be.
-
Tap Finish.
-
Enter any necessary data about the point (fill out the Name and Description fields, attach a document, or take a picture). The location, date, and time of the point will be filled in automatically.
-
Click Save.
Related Information
Return to the Table of Contents.
