Transferring files with a Mesa Tablet
This article lists several ways to transfer files to and from the Mesa tablets.
Shared Folder or Drive Through Wi-Fi
After connecting the Mesa to Wi-Fi or an M2 Office Docking Station accessory, you can set up a shared folder or drive. To do this,
Plug a drive into the USB port of your router.
In File Explorer, type \\[your router’s IP address].
Enter this file path on any device you would like to share with.
For more information on setting up a shared folder or drive see the following articles:
Cloud
When you log in to the Mesa Windows 10 with a Microsoft account, you will automatically have access to Microsoft’s file storage/sharing service, OneDrive. With this account, you can access uploaded files on any computer logged into the same Microsoft account. You can also share OneDrive folders.
Other popular cloud-based file-sharing services include Dropbox and Google Drive.
Bluetooth
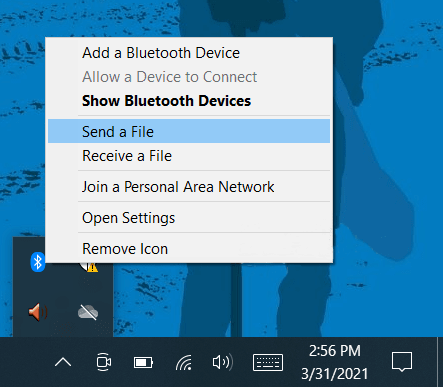
To share files between the Mesa and another device via Bluetooth,
Ensure the Mesa is in desktop mode.
Ensure you are in the range of the device you would like to share with.
Tap the up arrow in the toolbar.
Select the Bluetooth icon.
Tap Send a File (or Receive a File).
On the device you are sharing with, repeat steps 2–5 but choose the opposite option (receive or send).
Office Dock for Mesa
The Office Dock works with both the Mesa 3 and Mesa 2, but not with Mesa Pro. With this dock the user can,
Charge the Mesa Tablet.
Use the Mesa as a desktop computer.
Transfer data to or from another computer or network via the Ethernet connection.
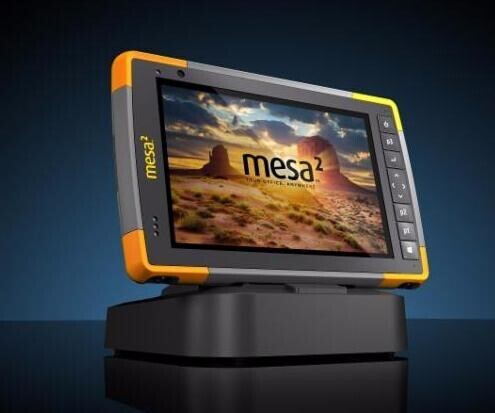
To use the dock,
Provide power to the dock.
Use a 20 W AC wall charger for the Mesa 2.
Use a 30 W AC wall charger for the Mesa 3.
A 45 W charger is available as an option, and we recommend this charger if you are using the dock as an office computer with several peripheral functions.
Plug in the cables for your desired setup.
Connect the Mesa horizontally to the dock.
USB Flash Drive
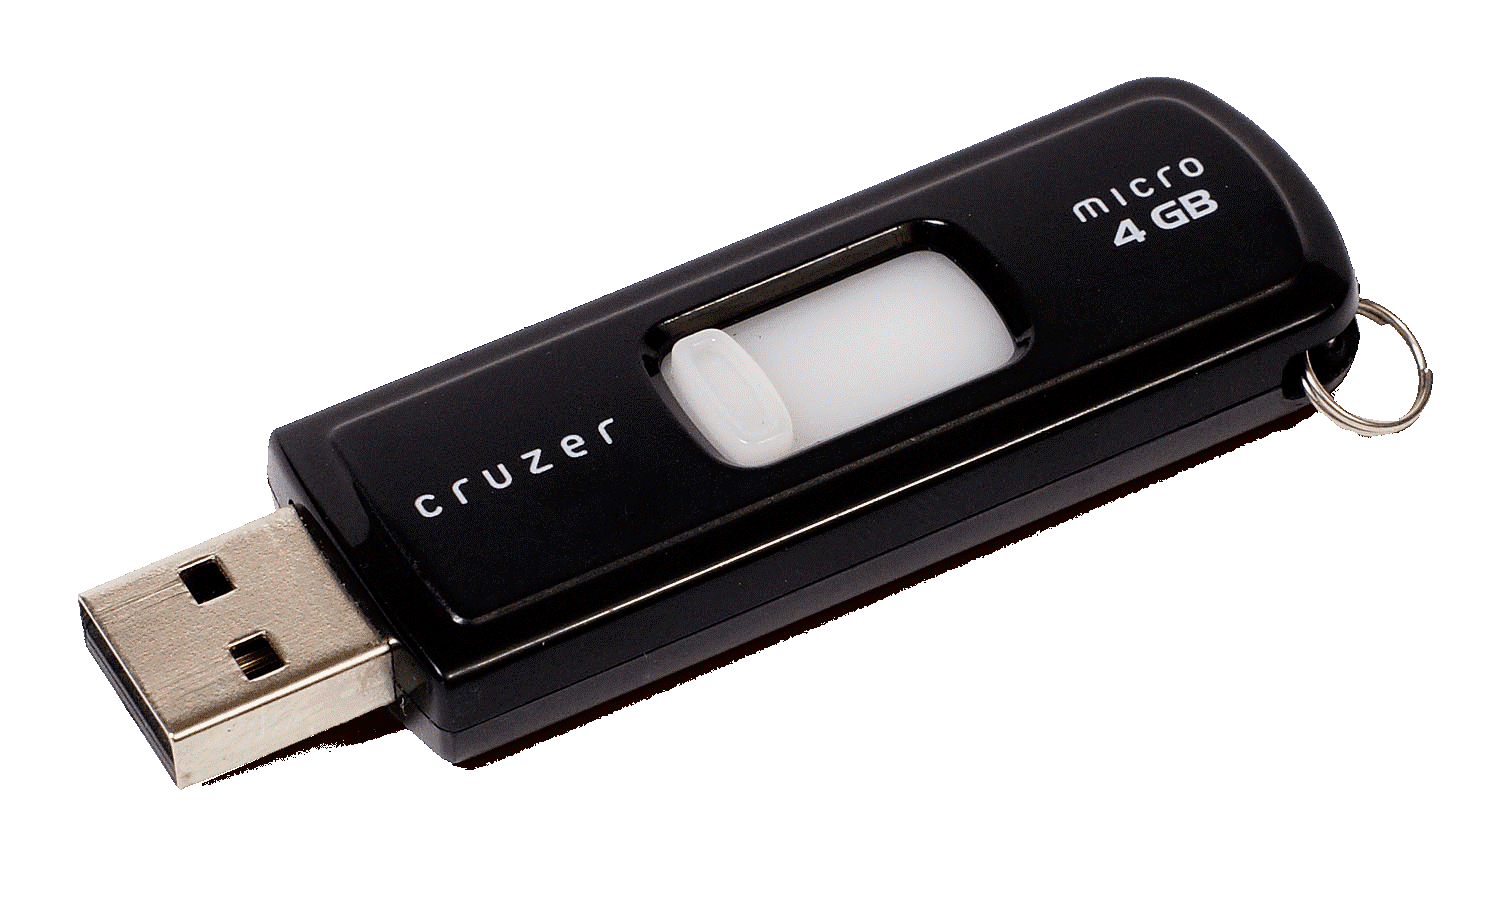
To transfer files using a USB flash drive,
Save your files on the drive from one device.
Eject it.
Insert the drive into the other device to download the files.
USB Bridge Cable
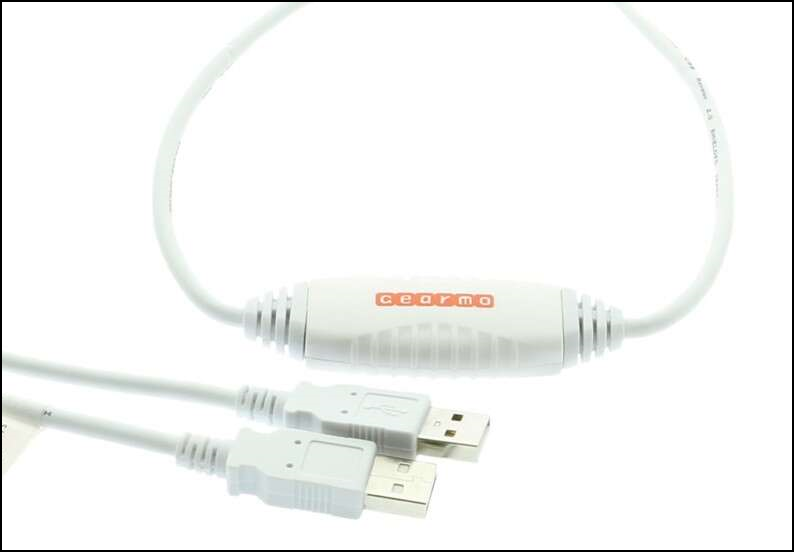
A USB bridge cable can easily connect the Mesa running Windows 10 to another computer. It allows you to drag and drop files between the two.
Enable USB AutoRun on your computer.
Connect the Mesa to the other device with the bridge cable.
When the EasyCopy software appears, drag the files from one device to the other.
Finding a good USB bridge cable can be difficult. Each cable automatically installs its own drivers and transfer software, but compatibility and trustworthiness are not guaranteed. The following USB bridge cables have good customer reviews but are here for reference only (use at your own risk).
Transferring files via email is a quick way to share a file. The drawback to using email is the limited size of files that you can send, so it wouldn’t be the best option in some cases.
MicroSD Card
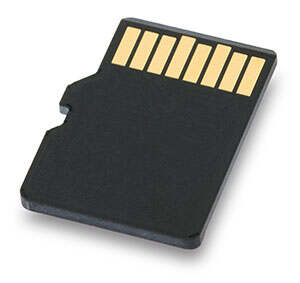
The Mesa 2 and 3 have a MicroSDXC card that can be removed and used to share files with other computers. However, the Mesa’s MicroSDXC card is located behind the sealed battery door and is not readily accessible, so using this method to transfer data is not recommended.
Wi-Fi P2P or Wi-Fi Direct
This option is only supported by Mesas using an Android operating system.
For more information on how to set up and use this file transfer option, visit the following articles:
More Information
For more information visit our blog post on How to Transfer Data on Your Windows 10 Mesa 2 Rugged Tablet.
If you need more file transfer ideas, please contact support@junipersys.com for assistance.
