
Loading Custom Windows OS image on Mesa Pro
This article describes some of the processes for loading a custom Microsoft Windows operating system (OS) image on the Mesa Pro.
Note: This information is provided as a reference and does not imply that Juniper Systems will provide full support for any custom or alternative operating system edition being used on the Mesa Pro.
Before changing the OS image, it is highly recommended to make sure the latest firmware is installed from the following web page.
There are two ways to change the OS image:
Switch Edition of Default OS Image
To switch the edition of the Microsoft Windows 11 operating system on the Mesa Pro, you can overwrite the pre-installed Windows 11 license with a license for the edition you would like installed. To do this,
Open Settings.
Select System > Activation.
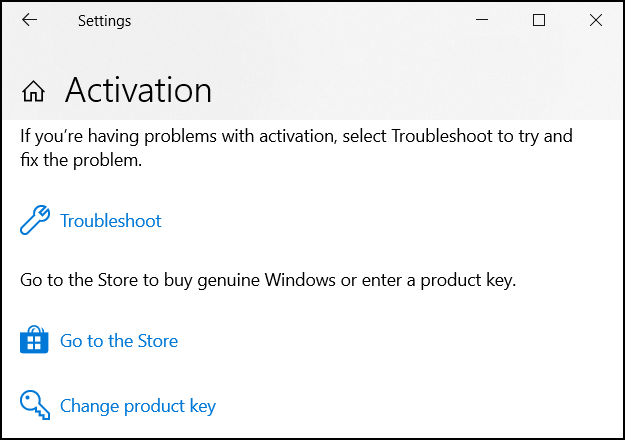
Tap Change.
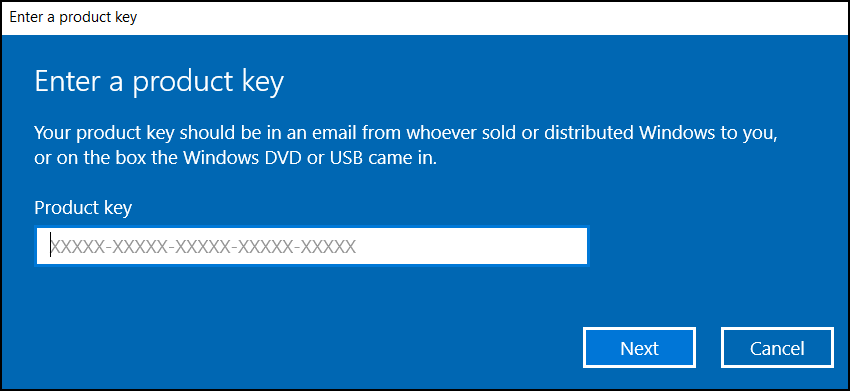
You will be asked to enter a product key. If you have one, enter it. If you do not, use the KMS client setup key.
Once a license for another edition has been entered, the Windows 11 operating system will automatically switch to that edition (some automatic downloads may occur). This will save the effort of trying to install and enable the custom drivers required for the hardware in the Mesa Pro.
Load a Full Alternative OS Image
It is possible to load a full alternative OS image if switching the edition is not an option for you. If you are using Microsoft System Center Configuration Manager (SCCM) to create an operating system image to load on the Mesa, you will need to include our latest driver packages linked below.
To load a full custom ISO (now more commonly split WIM) image, you will need to apply all custom drivers, utilities, and registry keys needed on the Mesa. We offer driver package installers to help simplify the process, but the installers are not guaranteed to be compatible with your custom OS image and/or be allowed with your system security privileges in the custom operating system.
For more detail and downloads see Drivers Package for the Mesa Pro.
Load with USB
A USB flash drive used to load a custom OS image (such as created using Clonezilla) must be FAT32 format and bootable (such as formatted using Rufus) or else the firmware will not recognize it.
To boot from a USB with a keyboard, plug in a USB hub with a keyboard and the FAT32 USB device with boot files.
Hold the ESC on the connected keyboard or the Windows key on the device key pad and turn on or Restart the device.
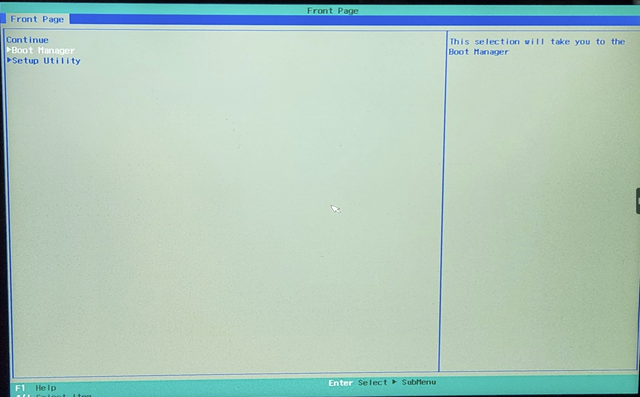
When you see the Front Page, release the ESC key and select Boot Manager.
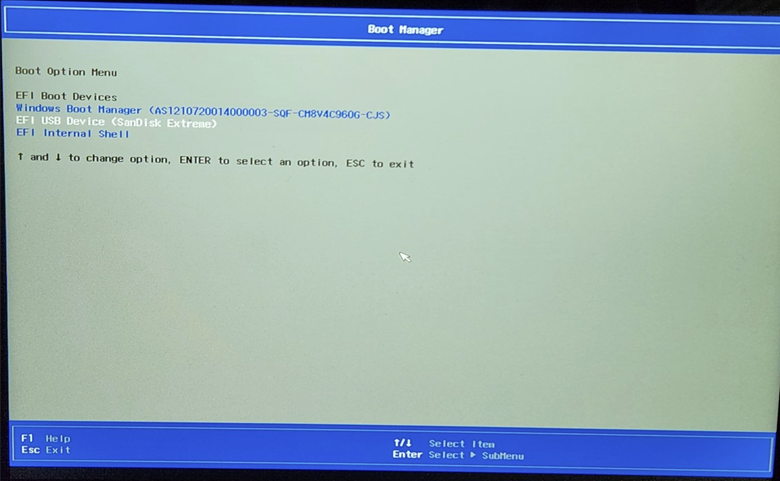
The available options areWindows Boot Manager
EFI Internal Shell
Your EFI USB Device
Use the keyboard or key pad arrows to select your USB flash drive. Press Enter.
For additional details, see WinPE: Store or split images to deploy Windows using a single USB drive.
Load Through Network Connection
To load the custom OS image directly through a network connection,
Hold the ESC or Windows key on the keyboard and turn on or Restart the device.
When you see the Front Page, release the ESC key and select Setup Utility.
From the Boot Tab, select Network Stack.
Select Enabled.
Select PXE Boot capability.
Select UEFI:IPv4.
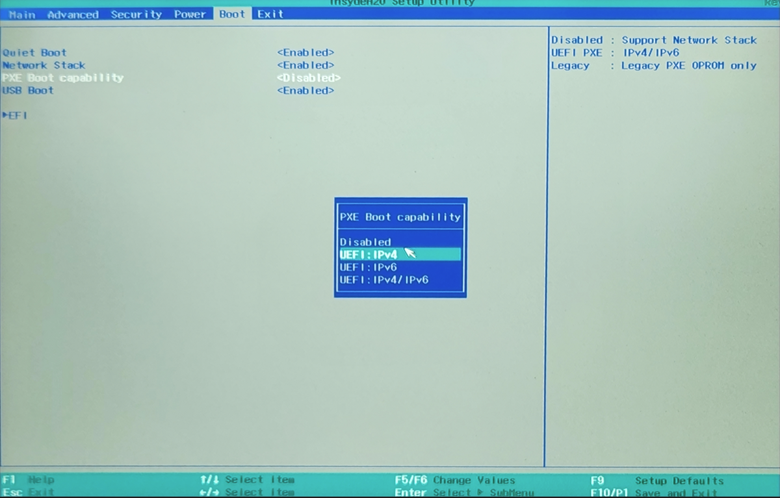
Press the P1 key.
From the Exit Saving Changes box, select Yes.
Load through USB\USB-C Ethernet Adapter
Hold the ESC or Windows key on the keyboard and turn on or Restart the device.
When you see the Front Page, release the ESC key and select Boot Manager.
Select EFI PXE 0 for IPv4 (MAC Address here). Press enter. The available options are
Windows Boot Manager
EFI Internal Shell
EFI PXE 0 for IPv4
