Plan, Create, and Manage a Project
With Uinta, creating and managing projects is easy. You decide where to store each project and who has access. There are two project types:
- Local Project—Stored on the device on which it is created and accessible only from that device. No internet connection is required. A local project can be pushed to the cloud at a later time.
- Cloud Project—Stored on the cloud and distinguished by a cloud icon
 next to the project name. Allows multiple users to simultaneously collect data on the same project and access the project from the field or office. An internet connection is required to initially create the project.
With a cloud project,
- You can delete the project from a device but keep it in the cloud. To download the project to the device again, tap the download icon next to the project name.
- The project syncs to the cloud automatically or manually, depending on how you set up your cloud sync preferences.
- You can collect data while the device is offline and sync the project data when the device has an internet connection.
Plan a Project
The first step in creating a successful project is planning. Make a list of the data that you want to collect. As you plan, consider the forms, maps, and reports that you currently use.
Uinta has four types of records in which you can collect and store data.
| Basic Record Types | |
| Type | Description |
| Area | A geo-area with a defined boundary, such as a water feature or field. Must include at least three points. |
| Line | A geo-line with a beginning and an ending point, such as an electrical line or water line. |
| Point | A geo-point with a stable location, such as a water meter, tree, or utility pole. |
| Record | Informational record used for custom forms that have no geospatial mapping requirement. |
A project can have as many records types as needed, and the names of the record types can be customized to fit your job. In each record type, you will create fields for the data that you want to track. You might create a spreadsheet (similar to the following example) to help you plan your project.

For example, for a gas utility company, the Uinta project might contain the mapped positions of gas lines and meters. The location of each gas line is collected as a line record type and includes fields for the gas line's diameter, date it was inspected, and its condition. A point record type collects the location of each gas meter and includes fields for the condition of the meter, date it was inspected, and photo.
Taking the time to plan the types of records you want to collect and the fields associated with those records will ensure a smooth creation process.
Tip: Uinta can be configured in many ways to do the same job, and the ultimate project layout will depend on personal preferences and job workflow. For complex projects that require testing and different iterations to find the best approach, creating a local project first to validate the workflow. Then, you can save the project to the cloud when you feel confident in the project layout.
Create a Project
To create a project,
- From the Projects screen, tap
 .
. - In the Add Project dialog, tap Create.
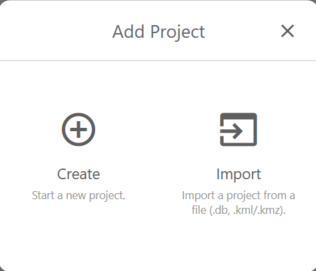
- In the Project Setup box, enter the project name.
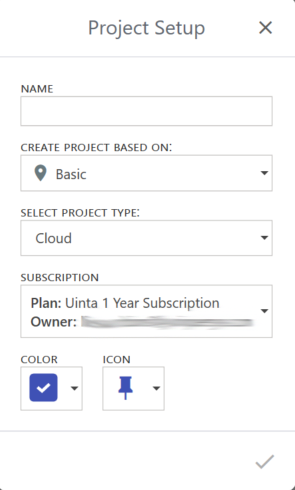
- Select a template or project on which to base the project.

- Select the project type.
- Cloud—Saves the project to the cloud. Requires an internet connection for project creation.
- Local—Saves the project to the device. Requires no internet connection.
- Select a color and icon to identify the project.
- Tap
 .
.
Manage Project Access
After you create a cloud project, set up which Uinta users have access to the project.
To set up project access,
- From the Projects screen, tap
 next to the cloud project and select Manage Access.
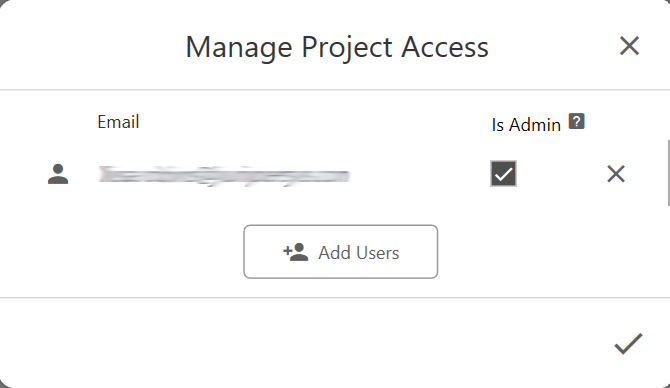
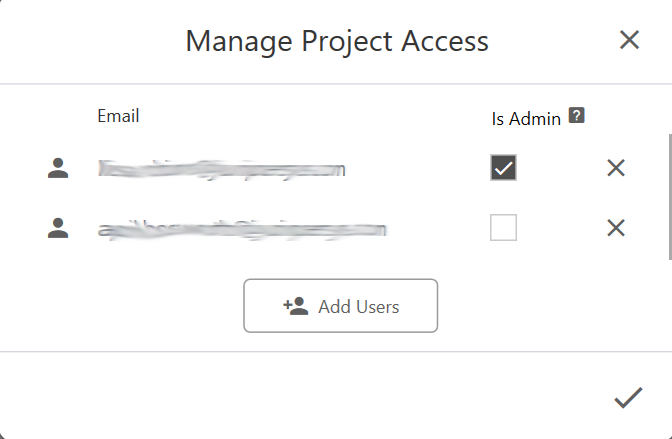
- Tap Add users.
- Select the users who should have access to the project.
All users must have an active Uinta account. - Tap
 .
.
For an administrative user, select the Is admin? checkbox. A user with administrative privileges can make changes to the project's template, set up user access, or permanently delete the project from the cloud.
- Tap .
Uinta notifies you that the project has been successfully shared.
- Tap OK. Uinta confirms that the cloud project is created.
- Tap OK.
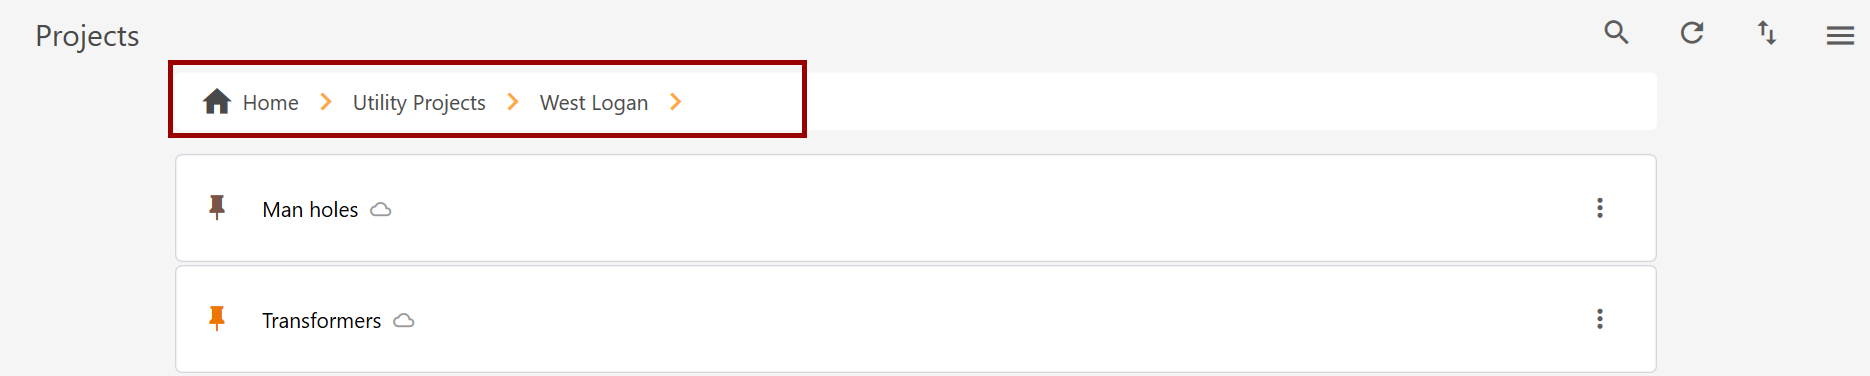
Organize Projects in Folders
You can organize and manage your projects in folders on the Projects screen. The navigation bar at the top of the screen shows the folder structure. Quickly navigate to folder by tapping it. For example, tap Home to return to the main level.
Move a Project to a New Folder
To move a project into a new folder,
- From the Projects screen, tap next to the project that you want to move.
- From the menu, select Move.
Note: If you are creating the first folder on the Projects screen, skip to step 5.
- Select the folder location.
- Select Home to place the folder at the main level.
- Select an existing folder to place the new folder within that folder. Expand a folder to view the subfolders.

- Tap
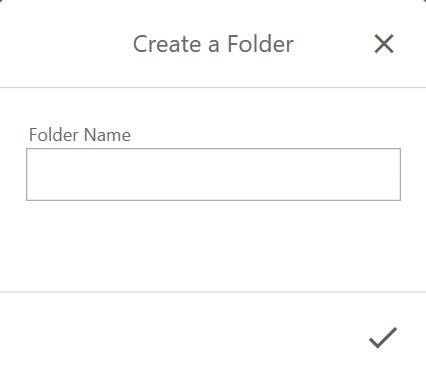
 .
. - Enter the folder name and tap .
- Tap to save the folder.
Move a Project to an Existing Folder
To move a project to an existing folder,
- From the Projects screen, tap next to the project name.
- From the menu, select Move.
- Select the folder where you want to move the project.
- Tap .
Rename a Folder
To rename a project folder,
- Tap next to the folder.
- From the menu, select Rename.
- Enter the name of the project.
- Tap to save the folder name.
Move a Folder
To move a folder,
- Tap next to the folder.
- From the menu, select Move.
- Select the location where you want to place the folder.
- Tap to move the folder.
Delete a Folder
You can delete a folder and any projects within the folder. If you want to delete only the folder, move the projects first and then delete the folder.
To delete a folder,
- Tap next to the folder.
- From the menu, select Delete.
If the folder contains projects, Uinta warns that deleting the folder will delete all projects permanently.
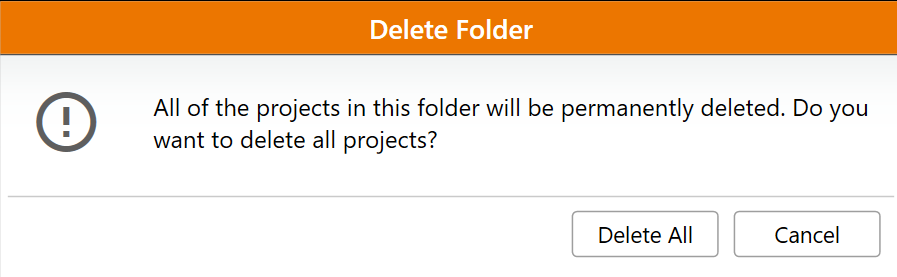
- To continue, select Delete all.
Uinta warns that any cloud projects will be permanently deleted.
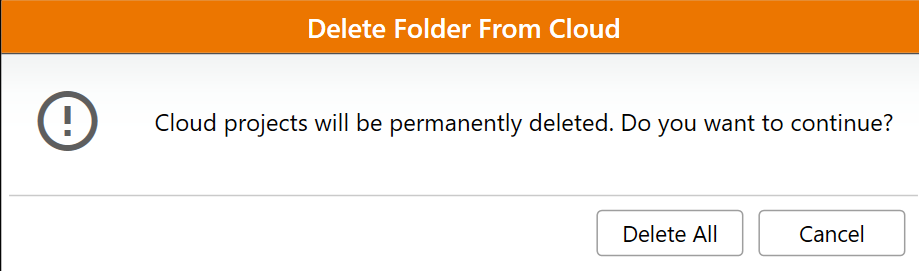
- To continue, tap Delete all.
Search for a Project
To search for a project,
- From the Projects screen, tap
 .
. - Enter the search criteria.
- Select the project you want to open.
Sort Projects
To sort the projects within a folder, select the folder and tap ![]() in the upper-right corner of the screen. You can sort the folders by name, date updated, and date created. Tap the arrow next to the sorting criteria to switch between ascending and descending order.
in the upper-right corner of the screen. You can sort the folders by name, date updated, and date created. Tap the arrow next to the sorting criteria to switch between ascending and descending order.

Save a Project to the Cloud
Saving and backing up your project to the cloud offers several advantages:
- Multiple users can simultaneously collect and access data on the same project, whether in the field or office.
- All authorized users have access to the latest version.
- Cloud backup reduces the risk of accidental data loss due to device failure or accidental deletion.
To save and back up a project to the cloud,
- From the Projects screen, tapnext to the project and select Push to cloud.
Uinta confirms that you want to push the project to the cloud.
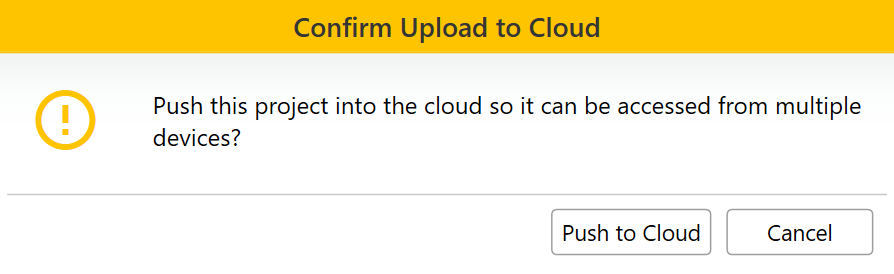
- Tap Push to cloud.
- Specify which users can access the project. (See Manage Project Access.)
Uinta confirms that the project has been moved to the cloud.
- Tap OK.
Set Cloud Sync Preferences
You control when and how Uinta syncs projects to the cloud. The first time you sign in to Uinta, you are prompted to set up your cloud sync preferences. You can update your preferences at any time in Settings.
Uinta offers three cloud sync options:
- Manual—Syncs the active project only when initiated by the user and the device is connected to the internet.
- Active project—Automatically syncs the active project while Uinta is open and the device is connected to the internet.
- Background sync—Automatically syncs any unsynced project data while the device is connected to the internet. Syncing begins while Uinta is open and can continue running in the background after Uinta is closed. This option may affect battery life. On Android and Windows devices, a notification appears when background sync is active; on iOS devices, no notification appears, and background sync is limited by device configuration and status. Background sync pushes your changes to the cloud but does not pull changes made by other users. To ensure your project is up to date, manually sync the project.
Note: Background sync stops if the device is shutdown, restarted, or enters low-power mode. To resume background sync, connect the device to external power (if in low-power mode), ensure the device is connected to the internet, and open Uinta.
Cloud Sync Icon
When a project has records to sync, Uinta displays a cloud sync icon on both the Projects screen and within the open project. The icon remains visible until all project data has finished syncing.
|
From the Projects Screen |
Within an Open Project |
|---|---|
|
An up or down arrow with a number is visible below the project name.
|
A red cloud sync icon is visible at the top of the screen. 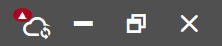


|
![]() CAUTION: Disconnecting from the internet before Uinta completes syncing your project to the cloud may result in incomplete backups of data and images.
CAUTION: Disconnecting from the internet before Uinta completes syncing your project to the cloud may result in incomplete backups of data and images.
Manually Sync a Project to the Cloud
Syncing frequently prevents data loss in case of device failure.
To manually sync a project to the cloud,
- Ensure the device is connected to the internet.
- Open the project.
- Tap the cloud sync icon (shown above).
- Windows device: Sync begins automatically.
- Android and iOS device: From the menu, select Cloud sync. The sync begins immediately.
Edit Project Description, Template, or User Access
To edit a project description, change the template on which it is based, or manage user access for a cloud project,
- From the Projects screen, tapnext to the project and select Edit Project.
- Make the desired changes, such as project name, color, or icon.

- To edit the project template, tap Edit Template. (See Edit a Template.)
- Tap to save the changes.
Delete a Project
To delete a project,
- From the Projects screen, tapnext to the project and select Delete.
Uinta confirms that you want to delete the project.
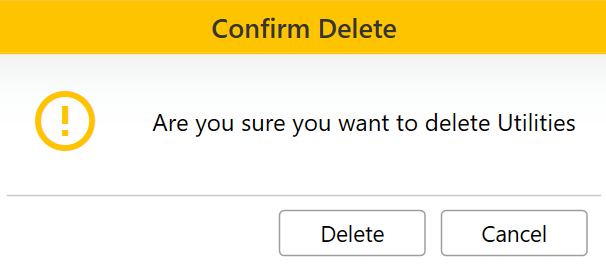
- Tap Delete.
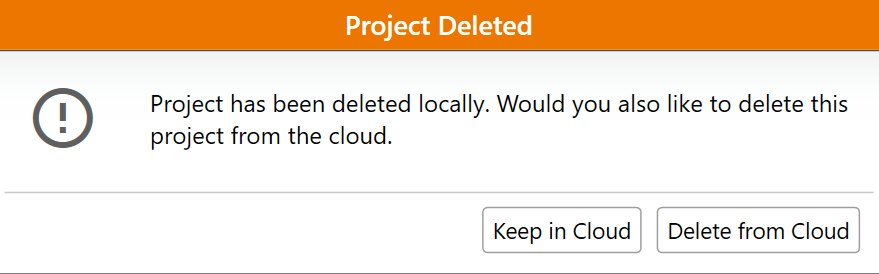
- If it is a cloud project ,
- Tap Keep in Cloud to delete the project from only the local device. A download icon
 appears by the project. You can restore the project at a later time from the cloud.
 - Tap Delete from Cloud to delete from the cloud and your local device.
- Tap Keep in Cloud to delete the project from only the local device. A download icon
Download a Cloud Project
To download a project from the cloud,
- From the Projects screen, tap next to the project.
- From the menu, select Download. Uinta confirms that you want to download the project.

- Tap Yes.
Back Up a Local Project
A local project is saved to the device on which it was created. To back up a local project and prevent data loss,
- Export it.
- Rename the file to include project name and date.
- Save the file to a secure location, such as Google Drive, Dropbox, a USB flash drive, or a secure network.
The project is saved in a .db file format, which is a proprietary file format accessible only in Uinta.