Customize Settings
From Settings, you can adjust your app preferences, configure the GNSS expansion receiver, enter your NTRIP/RTK service credentials, access your profiles, send log files to Juniper Systems technical support, and find the details about the version of Archer Connect.
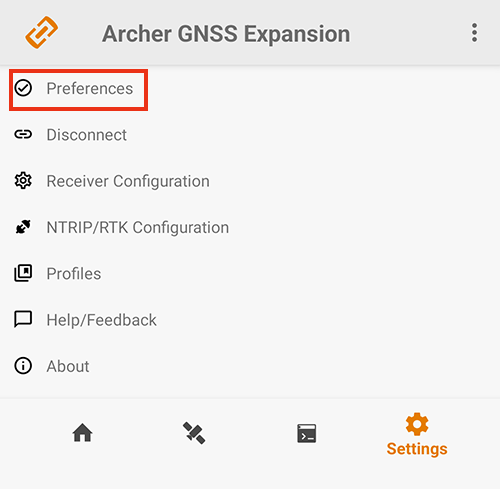
Preferences
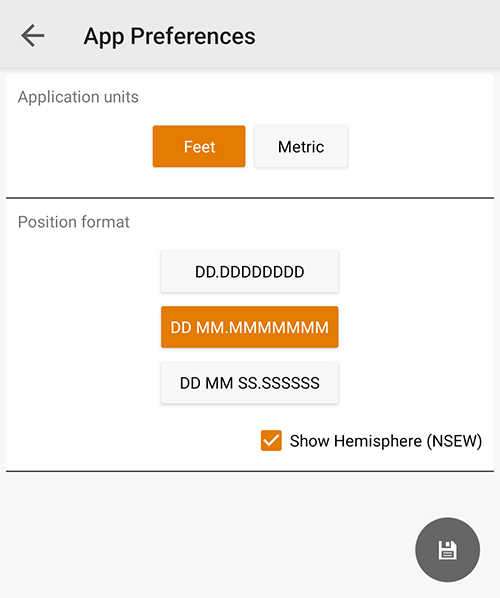
Tap Preferences to customize how information is displayed in Archer Connect.
Choose to use feet or meters for the distance unit displayed on the Home screen.
Choose the position format that will appear in the latitude and longitude measurements on the Home screen. You can choose
- decimal degrees (DD.DDDDDDDD)
- degrees and minutes (DD MM.MMMMMMM)
- degrees, minutes, and seconds (DD MM SS.SSSSSS)
Enable Show Hemisphere to see the North (N), South (S), East (E), or West (W) at the end of latitude and longitude coordinates on the Home screen.
Note: Changes must be saved. An orange save icon  means there has been a change that needs to be saved. Tap the save icon to save the changes.
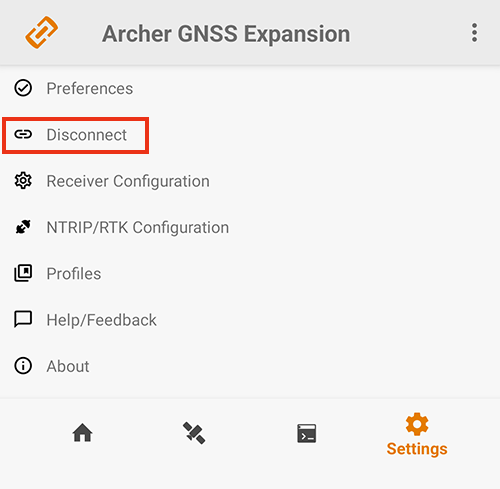
Disconnect/Connect
Tap  to connect or disconnect from the GNSS expansion.
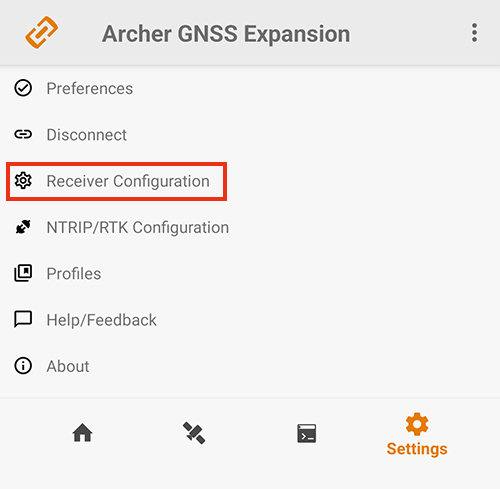
Receiver Configuration
Note: The Receiver Configuration option is only available if you are connected to the GNSS expansion.
Tap Receiver Configuration to set up the GNSS expansion to meet the needs of your project.
The active profile is shown at the top of the Configurations screen. If no profile is selected, [Profile Not Selected] displays. To change the active profile, tap the drop-down arrow and select from the list of available profiles.
More information can be found in Profiles.
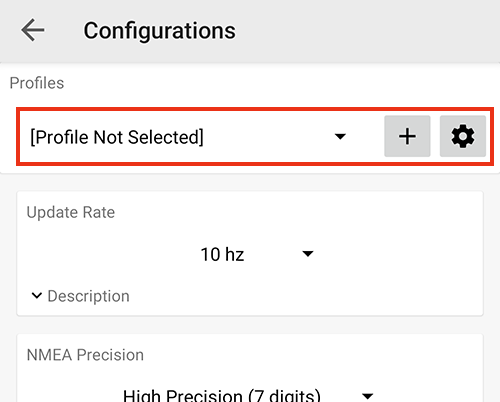
The ![]() adds a profile. See Add Profile.
adds a profile. See Add Profile.
The  opens the Manage Profiles screen. See Profiles.
Update Rate
The update rate sets the message output rate through the active connection/port. You can specify your preferences for the update rate. Choose 1, 2, 5, or 10 Hz. We recommend 1 Hz.
NMEA Precision
This specifies the data resolution to the number of decimal places to output. Choose high precision (7 digits), standard (5 digits), or compatibility (4 digits). See View the Terminal Screen for additional information about the NMEA messages output.
Elevation Mask Angle
The elevation mask angle sets the minimum elevation (in degrees) that a satellite can be above the horizon and be used in the navigation solution. Any satellites below this angle will be ignored, even if they are available. Low elevation satellites may provide degraded accuracy because of the long distance that the signal travels through the atmosphere. The default value is 5°.
Enabled Correction Sources
Choose the correction source(s) to use. You can use one, both, or neither.
- SBAS differential corrections
- QZSS SLAS differential corrections
Note: RTK is automatically enabled when the NTRIP/RTK client is connected.
SBAS
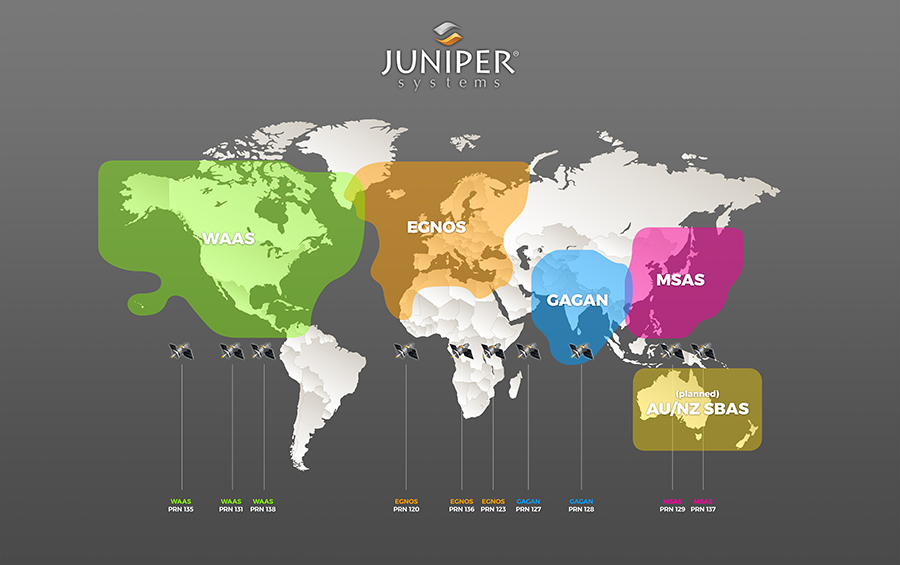
Specify which SBAS satellite signal to use for an SBAS corrected solution.
- Auto—The auto-tune option sets the appropriate SBAS PRNs based on the autonomous GPS position. This is the default.
- EGNOS—European Geostationary Navigation Overlay Service (Europe SBAS) PRN 136, 123, 126
- GAGAN—GPS Aided GEO Augmented Navigation (India SBAS) PRN 127, 128, 132
- MSAS—MTSAT Satellite Augmentation System (Japan SBAS) PRN 129, 137, 139
- SDCM—System for Differential Correction and Monitoring (Russia SBAS) PRN 125, 140, 141
- SouthPAN—Southern Positioning Augmentation Network (Australia and New Zealand SBAS) PRN 122
- WAAS—Wide Area Augmentation System (North America SBAS) PRN 131, 133, 135
Using Auto works well in most areas because SBAS services cover different regions. However, in areas where the SBAS coverage overlaps, selecting a specific service is recommended. (See the map below.) When Auto is used in these regions, the receiver may switch between services, which can introduce significant data errors due to differences in reference datums or models.
SBAS Services
Additional control settings for signals provided by SBAS satellites.
- Use test mode―Allows the receiver to accept SBAS data from satellites that are configured in Test Mode.
- Ranging―Uses SBAS satellites to compute range (pseudorange) to complement GNSS position solutions.
- Integrity―Uses SBAS integrity data to validate GNSS satellites and exclude satellites marked as unhealthy.
Receiver Reset
Use Reset Options to return all of the options on the Configurations screen to the default values. Your previous settings cannot be reapplied without manually entering the desired values.
A receiver reset does not remove your profiles, preferences, or NTRIP/RTK Configuration information.
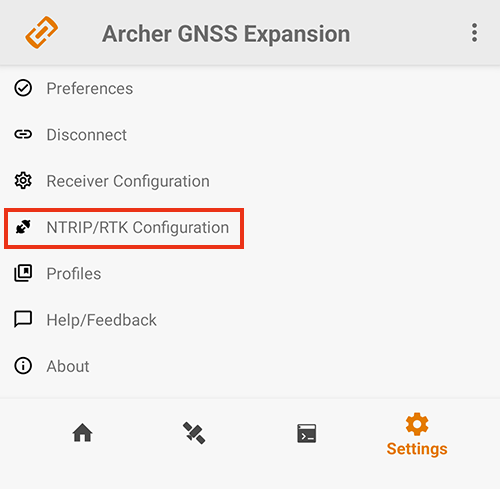
NTRIP/RTK Configuration
Tap NTRIP/RTK Configuration to view the NTRIP/RTK Configuration screen. See NTRIP/RTK Configuration for details.
NTRIP/RTK Configuration
NTRIP, which stands for Network Transport of RTCM via Internet Protocol, delivers the corrections used for Real-Time Kinematic (RTK) positioning. Where available, RTK networks stream data corrections over the internet, allowing the GNSS expansion receiver to calculate an RTK Fix/Float position solution.
NTRIP makes it possible to create networks of base stations that increase both the availability and reliability of RTK corrections. Since distance from a base station strongly affects position precision and accuracy, NTRIP-enabled RTK networks are able to calculate the user's closest base station or use algorithms and modeling to create a virtual base station very close to the user's receiver. The GNSS expansion accesses NTRIP-enabled RTK services via the cellular data or internet capabilities of the Archer 4. These services require a subscription and a stable internet connection. The GNSS expansion uses the data (RTCM version 3.x) provided by the NTRIP-enabled RTK network to achieve a precise RTK Fix solution in most instances. The GNSS expansion expects RTCM version 3.x formatted messages to compute an RTK solution.
Note: NTRIP/RTK settings are stored in the Archer Connect app, not in the GNSS expansion.
The GNSS expansion can calculate an RTK Fix/Float position with sub-meter to centimeter-level accuracy. NTRIP services require an internet or cell data connection and usually involve either a free or paid subscription to the service.
If you have a subscription to an NTRIP/RTK service, Archer Connect will allow you to configure the GNSS expansion to use that service.
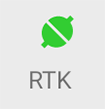
When you are connected to an NTRIP/RTK service provider, the Settings and Home screens show an RTK icon. Tap it to open the NTRIP/RTK configuration screen.
![]()
 |
NTRIP/RTK connection is working. |
 |
Connection to the NTRIP service is in progress. |
Connect to NTRIP/RTK Service
To connect to an NTRIP/RTK service,
The active profile is shown at the top of the screen. If no profile is selected, [Profile Not Selected] displays.
- Ensure Archer Connect is connected to the GNSS expansion and you have a data connection.
- Tap NTRIP/RTK Configuration.
- To change the active profile, tap the drop-down arrow and select from the list of available profiles. For more information, see Profiles.
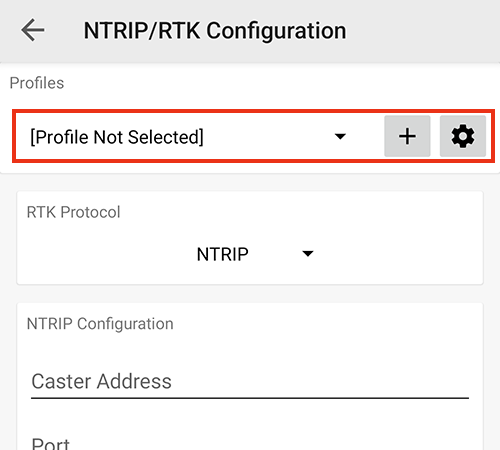
- Depending on the requirements of your NTRIP/RTK service provider, select
- NTRIP if the information from your NTRIP/RTK service provider includes caster IP address, port, username, and password.
- Direct IP if the only information you have from your NTRIP/RTK service provider is an IP address.
- Enter the NTRIP credentials supplied by your NTRIP/RTK service provider.
- Caster Address
- Port
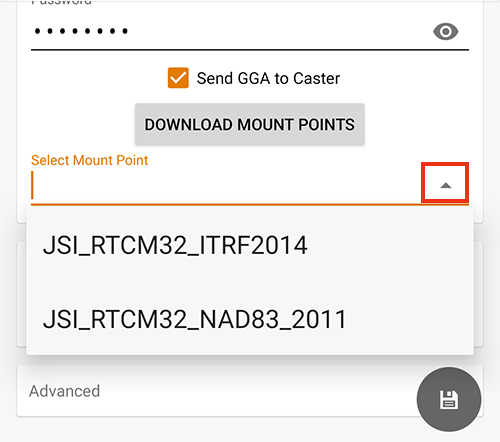
- Enter your username and password for your NTRIP/RTK service provider.
- If required by your service provider, select Send GGA.
This sends your location to your service provider so that the NTRIP network can give you the closest or best mount point(s). - Tap Download Mount Points.
- Tap the drop-down arrow and select from the list of mount points one close to the your position.
- Tap Start NTRIP/RTK.
When NTRIP/RTK is connected and working, Start NTRIP/RTK changes to Stop NTRIP/RTK. The connection is not instantaneous. If the GNSS expansion has trouble connecting, try selecting a different mount point.
To end an NTRIP/RTK connection, tap Stop NTRIP/RTK.
Direct IP Configuration
If your NTRIP/RTK service provider gave you only an IP address, use the direct IP option to connect.
To establish an NTRIP/RTK connection,
- Ensure you have a data connection.
- Enter the address and port supplied by your NTRIP/RTK service provider.
- Tap Start NTRIP/RTK.
When NTRIP/RTK is connected and working, the Start NTRIP/RTK changes to Stop NTRIP/RTK.
Advanced
The NTRIP/RTK Configurations > Advanced screen allows you to give more direction about how the GNSS expansion will communicate with your RTK server.
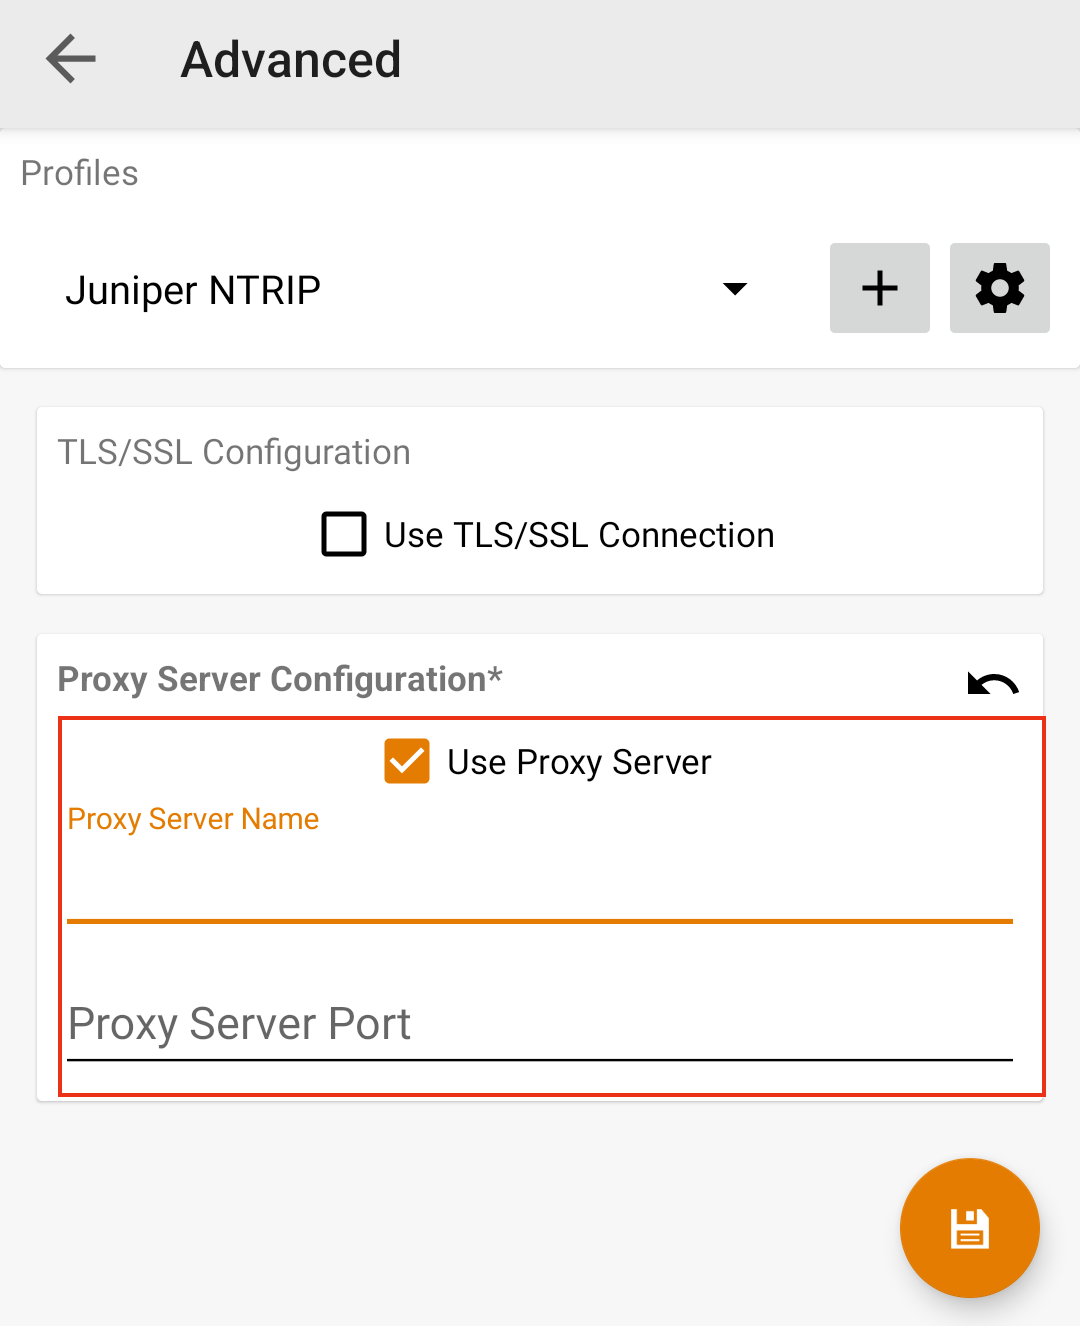
TLS/SSL Configuration
Some NTRIP/RTK service providers use a TLS/SSL connection. Your NTRIP service provider will let you know if you need to use this option.
To use a TLS/SSL connection,
- Enable Use TLS/SSL Connection.
- Tap .

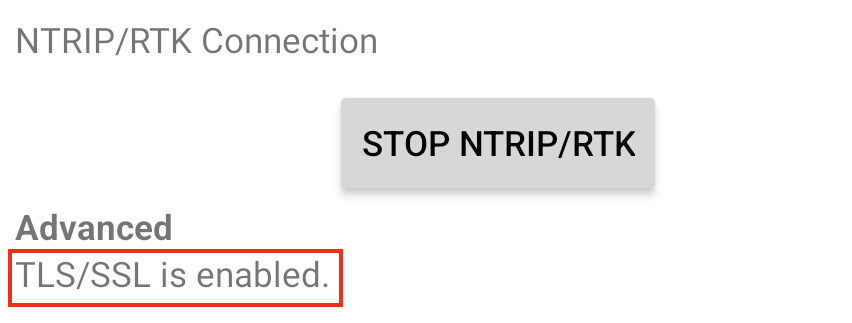
When a TLS/SSL connection is enabled, it shows on the Receiver Configuration screen.
Proxy Server Configuration
You may need to use a proxy server if a network firewall blocks the port that your NTRIP service is using.
To use a proxy server,
- Enable Use Proxy Server.
- Enter the name of your proxy server.
- Enter the port of your proxy server.
- Tap .
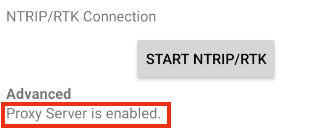
When a proxy server is enabled, it shows on the Receiver Configuration screen.
Profiles
A profile allows you to save your customized settings for reuse in the future or to share with other devices to quickly apply consistent settings among devices. You can have multiple profiles to fit different use cases.
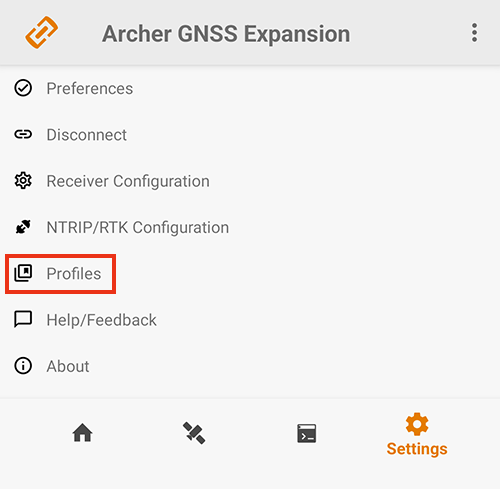
From the Manage Profiles screen, you can add, share, import, or delete a profile.

Share Profile
To share a profile,
- Tap
 next to the profile you want to share.
 - Choose the method you would like to use to share the profile.
For example, if you choose to share through email, an email will be opened in your default email app with the profile JSON file attached.
Delete Profile
Tap  to remove a profile. Tap Delete when prompted.
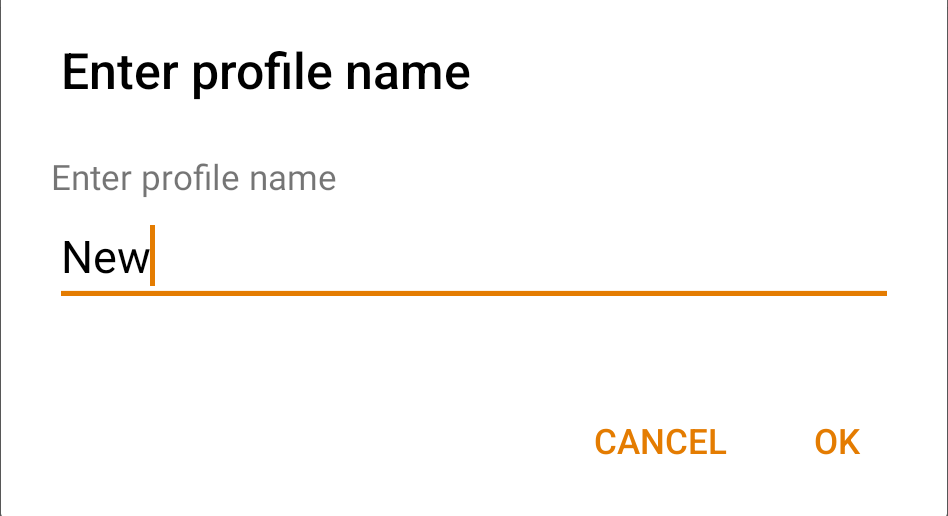
Add Profile
The new profile is based on the current receiver settings. Any changes you make to the receiver settings are applied to the current profile. To add a profile,
- Tap Add Profile.
- Enter the profile name and tap OK.
Import Profile
If you have received a profile and want to import it,
- Tap Import Profile.
- Choose the file to import.
The imported profile will be listed on the Manage Profiles screen.
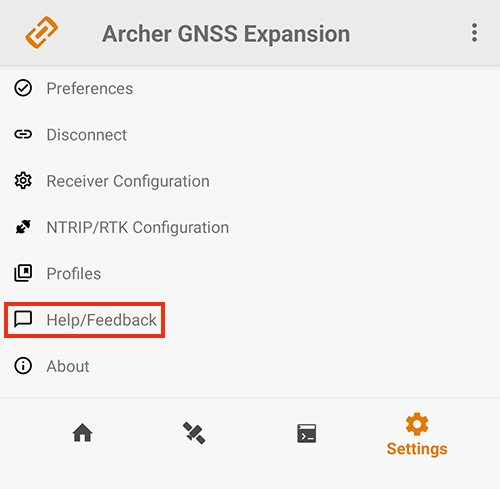
Help/Feedback
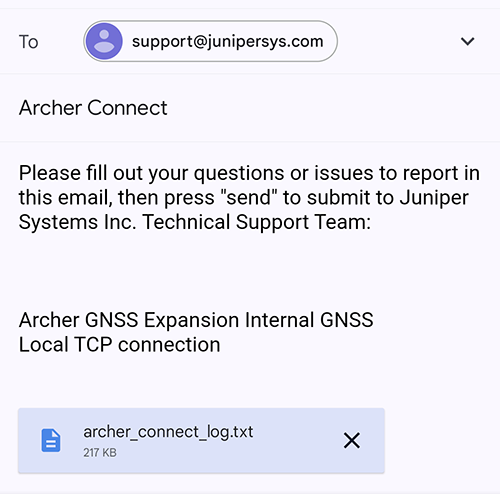
To request help or send a log file to Juniper Systems customer support, tap Help/Feedback.
This opens an email addressed to Juniper Systems Support from the email account configured on your device. The email includes an attached log file from Archer Connect that allows Juniper Systems support to diagnose and solve problems more efficiently.
You can enter additional information into the email to provide a further explanation about your issue.
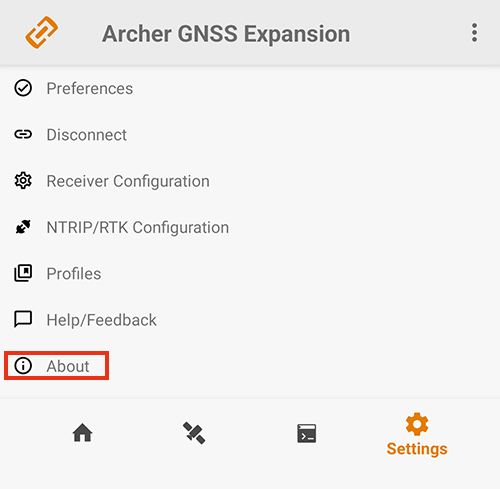
About
The About screen shows the Archer Connect version currently in use.